Power Apps – How to have a ‘Select All’ checkbox
3 steps

Introduction:
Learn how to have a ‘Select All’ checkbox for your individual checkboxes in your gallery. In this tutorial we will create a simple set-up to demonstrate the ‘Select All’ functionality.

Step 1:
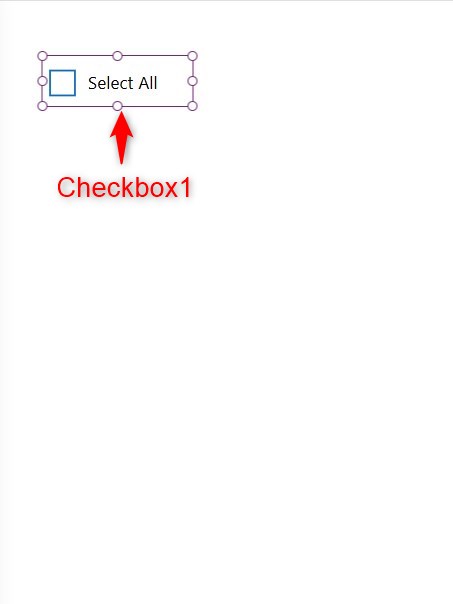
Insert a checkbox named Checkbox1. Change the following properties:
Text property
"Select All"
Step 2:
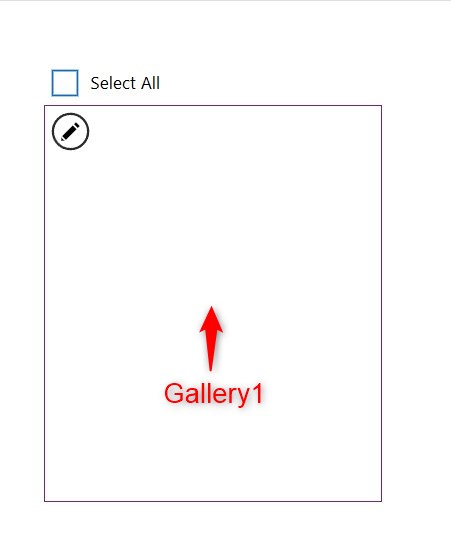
Insert a blank vertical gallery named Gallery1. Change the following properties:
Items property
CustomGallerySampleTemplateSize property
60
Step 3:
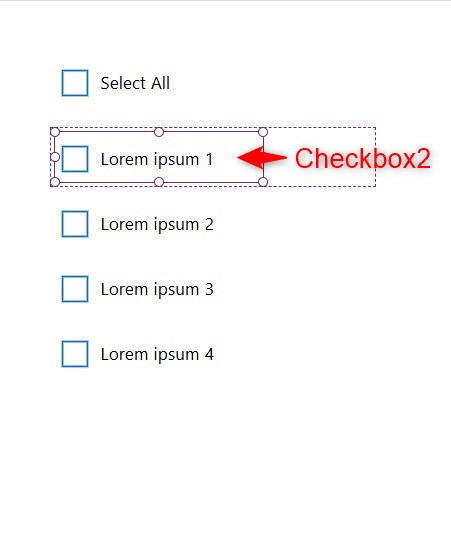
Insert a checkbox named Checkbox2 inside Gallery1. Change the following properties:
Text property
ThisItem.SampleHeadingDefault property
Checkbox1.Value
Conclusion:
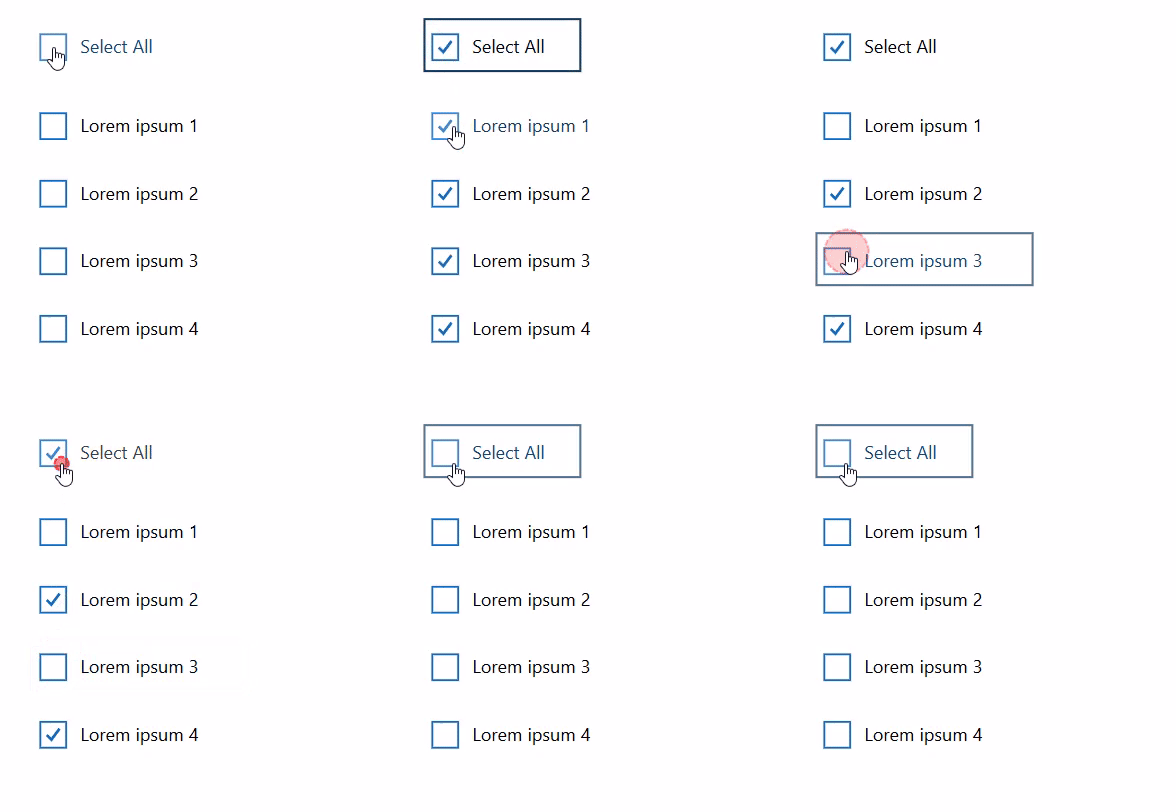
To test it out on play mode, click the ‘Select All’ checkbox. You will notice when the ‘Select All’ checkbox is checked, all the checkboxes in the gallery will be checked. When the ‘Select All’ checkbox is unchecked, all the checkboxes in the gallery will also be unchecked.
Now that the concept of ‘Select All’ ‘is demonstrated, we can apply this to a multi-select update operation. Click the button below for the blueprint.
Did this article help? Let us know how we can improve. Send us a message by clicking the “Contact Us” button below.
Article Last Updated: October 27, 2024
Need expert guidance on Power Apps?