Power Apps – Item Allocation using List Box
6 steps

Introduction:
This is the blueprint on how to have an item allocation feature using the list box control. This is useful for assigning items into groups.

Step 1:
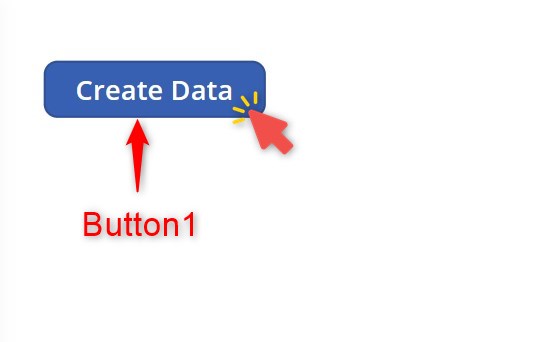
Insert a button named Button1. Change the following properties:
Text property
"Create Data"OnSelect property
ClearCollect(collTest,
Table(
    {Country:"Myanmar",Group:1},
    {Country:"Norway",Group:1},
    {Country:"Uganda",Group:1},
    {Country:"Philippines",Group:1},
    {Country:"China",Group:2},
    {Country:"Madagascar",Group:1},
    {Country:"Belgium",Group:2},
    {Country:"Japan",Group:1},
    {Country:"France",Group:2},
    {Country:"USA",Group:2}
    )
)
Step 2:
In play mode, click the button so that our collection will be created.

Step 3:
Insert a list box named ListBox1. Change the following properties:
Items property
Filter(collTest,Group=1)
Step 4:
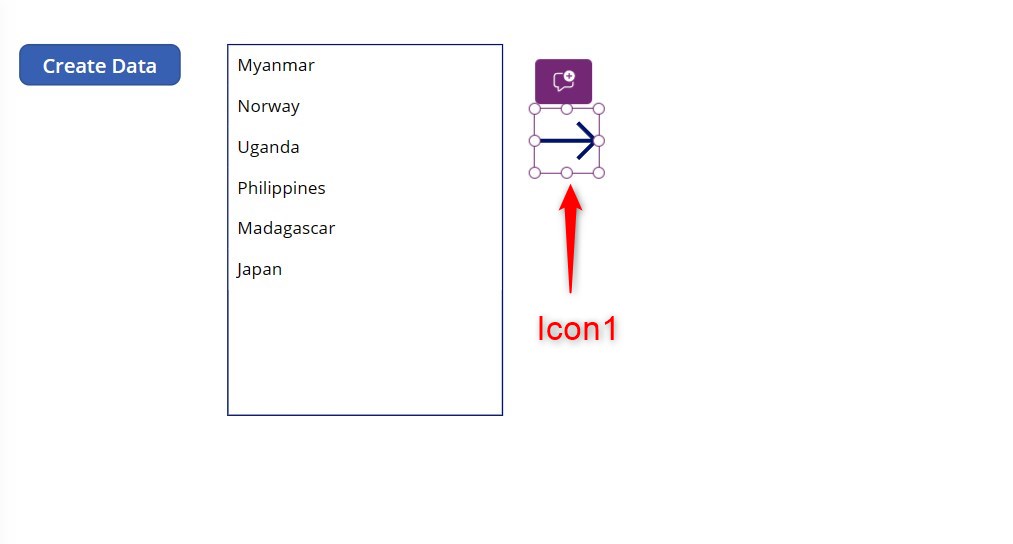
Insert an icon (ArrowRight) named Icon1. Change the following properties:
Icon property
Icon.ArrowRightOnSelect property
ForAll(ListBox1.SelectedItems As CurrentItem,
Patch(collTest,LookUp(collTest,Country=CurrentItem.Country),
{Group:2})
)
Step 5:
Insert a list box named ListBox2 Change the following properties:
Items property
Filter(collTest,Group=2)
Step 6:
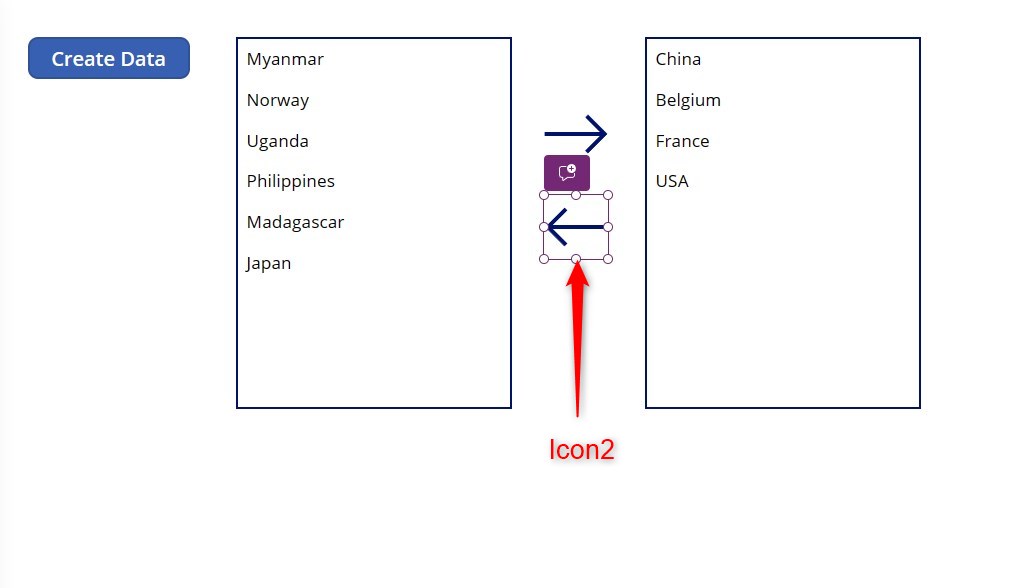
Insert an icon (ArrowLeft) named Icon2. Change the following properties:
Icon property
Icon.ArrowLeftOnSelect property
ForAll(ListBox2.SelectedItems As CurrentItem,
Patch(collTest,LookUp(collTest,Country=CurrentItem.Country),
{Group:1})
)
Conclusion:
To test, you can select countries in the left list box and then click the right arrow. You can see that the selected items moved over to the right list box. Now select items on the right list box and then click the left arrow. Items that were selected will be transferred to the left list box.
Did this article help? Let us know how we can improve. Send us a message by clicking the “Contact Us” button below.
Article last updated on Apr 05, 2024
Need expert guidance on Power Apps?