Power Automate – Send an email with a table
5 steps
Overview
In this blueprint, we will learn how to include tables in emails sent through Power Automate. In this example, we will filter a SharePoint list of Grocery Items to show only with a Category value of “Food”. And then we will create a table to show that data and include it in the email.
Our Set-up
![]() SharePoint list named Grocery Items
SharePoint list named Grocery Items
Step 1: Create a flow
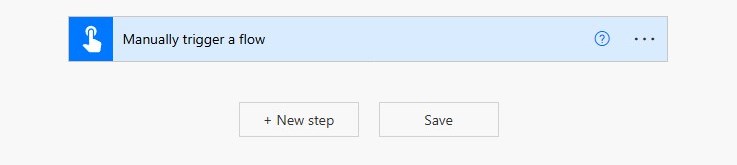
Step 1:
Create an Instant cloud flow with manual trigger.
Step 2: Get items
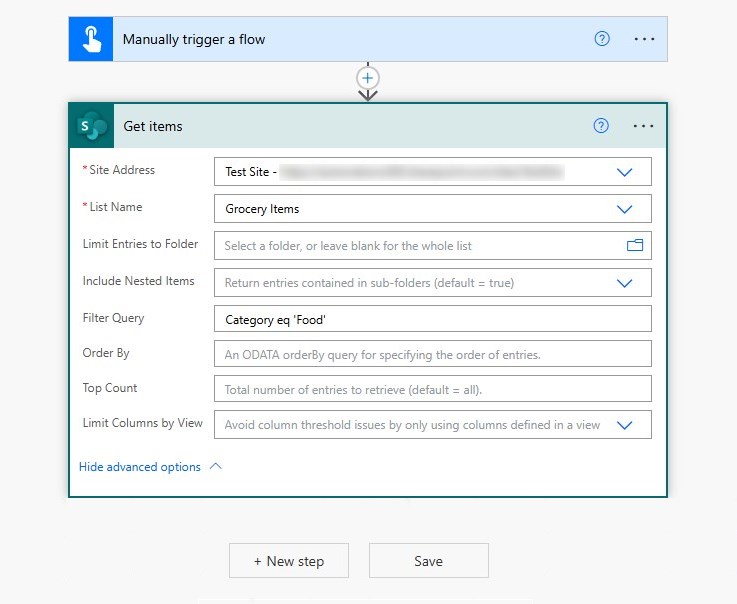
Step 2:
Add Get items (SharePoint)
Site Address
[the SharePoint site where 'Grocery Items' is located]List Name
Grocery ItemsFilter Query
Category eq 'Food'Note: Click on Show advanced options to make Filter Query field appear.
Step 3: Create HTML table

Step 3:
Add Create HTML table (Data Operation)
From
Expand ‘Show advanced options‘
Columns
Custom| Header | Value |
|---|---|
| Food |
Title
|
| Price |
Price
|
Step 4: Compose
Step 4:
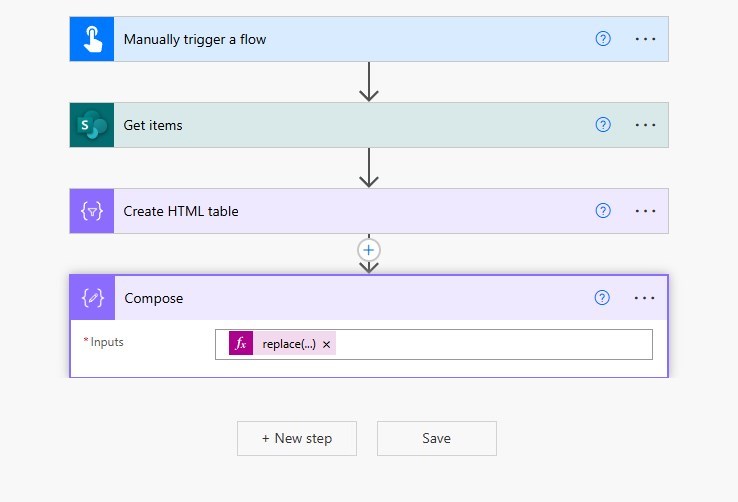
Add Compose. Copy and paste the following code using the expressions tab.
Inputs
replace(
  replace(
    replace(
body('Create_HTML_table'),'<table>',
'<table style="
width: 50%;
border-collapse: collapse;
background: white;
box-shadow: 0 4px 8px rgba(0, 0, 0, 0.1);
border-radius: 8px;
overflow: hidden;
font-family: Arial, sans-serif; text-align: left;">'
    ),'<td>',
'<td style="padding: 12px;
border: 1px solid #ddd;">'
  ),'<th>',
  '<th style="padding: 12px;
  border: 1px solid #ddd;
  background-color:#53b1f8;
  color:white">'
)
Note: The code here makes the table look prettier instead of using the default style.
Step 5: Send an email (V2)
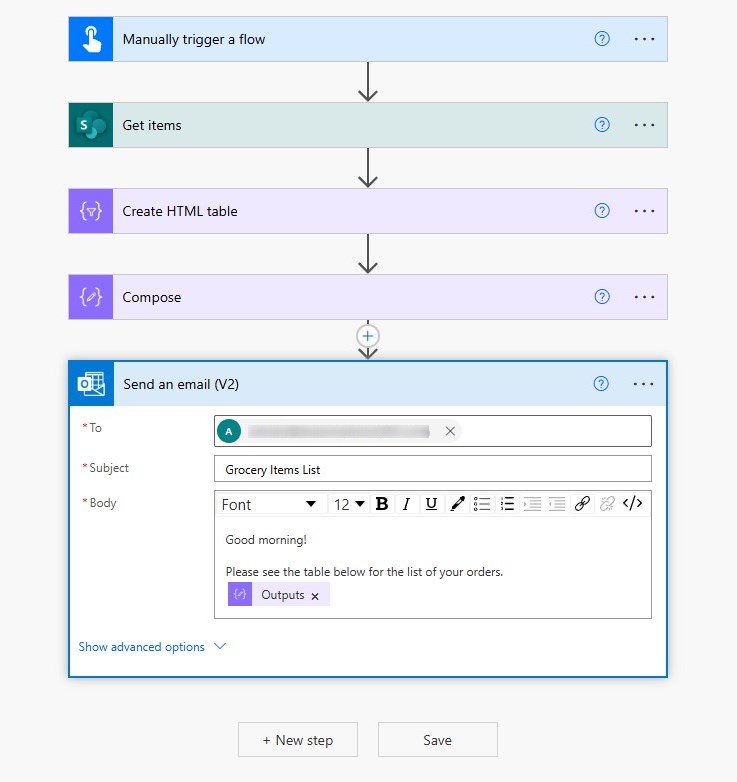
Step 5:
Add Send an email (V2):
To
[your user account/your email address]Subject
Grocery Items ListBody
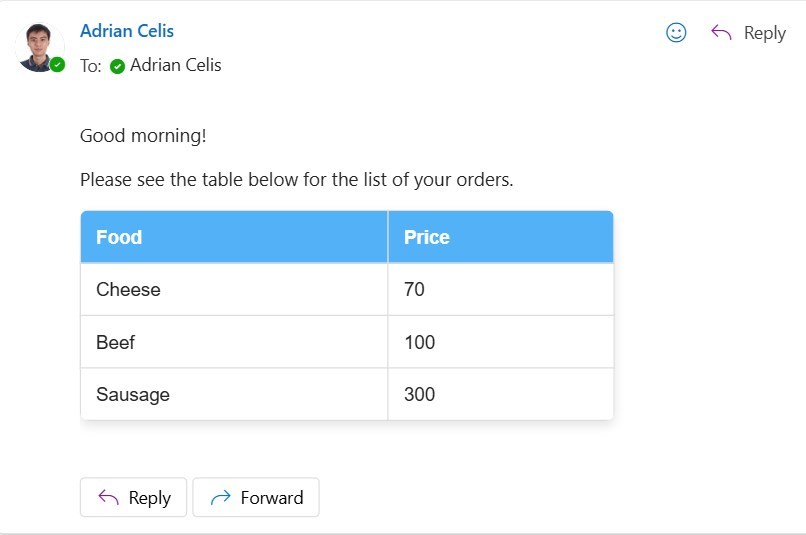
Please see the table below for the list of your orders.
Conclusion
Save the flow and test. After the test has completed successfully, you should be able to receive an email with the message along with a table of food grocery list in a nice-looking table.
Did this article help? Let us know how we can improve. Send us a message by clicking the “Contact Us” button below.
Article last updated on February 19, 2025
Need expert guidance on Power Apps?


