Power Apps – 3-Level Gallery Alternative (View Only)
3 steps
Overview

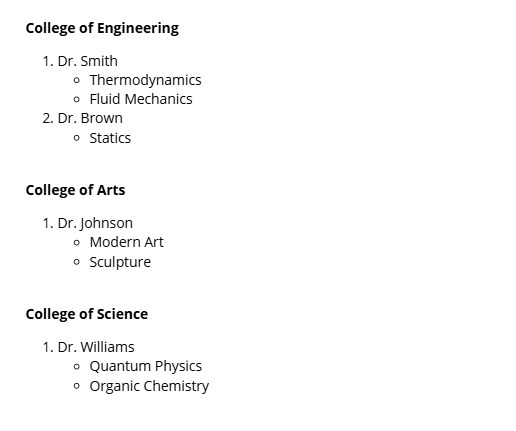
As of writing, the maximum number of galleries you can place inside another gallery is one. Therefore having 3 levels of galleries or more is impossible. Here is an alternative solution if you want to display data that has three or more levels of related data. This only works for text displays, not input controls.
Follow the steps below using a blank canvas app to create a demo of this concept.
Step 1: Button to set the collection

Step 1:
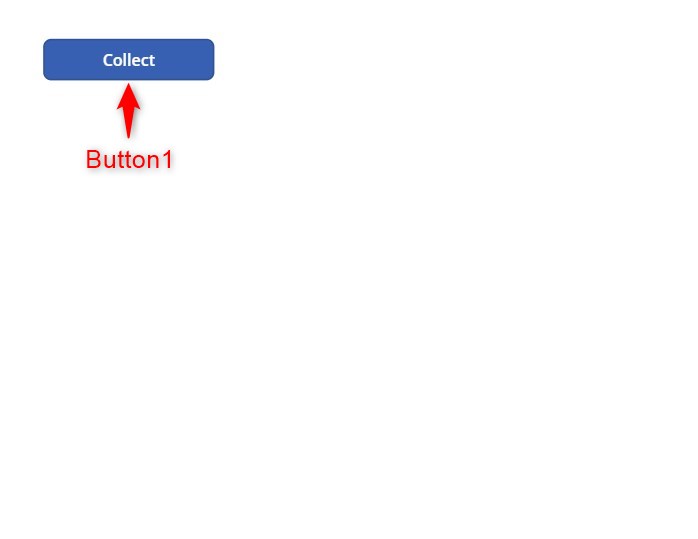
Insert a button and name it Button1. Change the following properties:
Text property
"Collect"OnSelect property
//Colleges
ClearCollect(colColleges,
Table(
    {ID:1,College:"College of Engineering"},
    {ID:2,College:"College of Arts"},
    {ID:3,College:"College of Science"}
    )
);
//Professors
ClearCollect(colProfessors,
Table(
    {ID:1,Professor:"Dr. Smith",CollegeID:1},
    {ID:2,Professor:"Dr. Johnson",CollegeID:2},
    {ID:3,Professor:"Dr. Williams",CollegeID:3},
    {ID:4,Professor:"Dr. Brown",CollegeID:1}
    )
);
//Courses
ClearCollect(colCourses,
Table(
    {ID:1,Course:"Thermodynamics",ProfessorID:1},
    {ID:2,Course:"Modern Art",ProfessorID:2},
    {ID:3,Course:"Quantum Physics",ProfessorID:3},
    {ID:4,Course:"Fluid Mechanics",ProfessorID:1},
    {ID:5,Course:"Sculpture",ProfessorID:2},
    {ID:6,Course:"Organic Chemistry",ProfessorID:3},
    {ID:7,Course:"Statics",ProfessorID:4}
    )
);
Step 2: Setting the Collection

Step 2:
Activate play mode. Click on the button so that our collection will be created. Check that the collections named colColleges, colProfessors, and colCourses has data.
The collections should look like the following:
colColleges
| College | ID |
| College of Engineering | 1 |
| College of Arts | 2 |
| College of Science | 3 |
colProfessors
| CollegeID | ID | Professor |
| 1 | 1 | Dr. Smith |
| 2 | 2 | Dr. Johnson |
| 3 | 3 | Dr. Williams |
| 1 | 4 | Dr. Brown |
colCourses
| Course | ID | ProfessorID |
| Thermodynamics | 1 | 1 |
| Modern Art | 2 | 2 |
| Quantum Physics | 3 | 3 |
| Fluid Mechanics | 4 | 1 |
| Sculpture | 5 | 2 |
| Organic Chemistry | 6 | 3 |
| Statics | 7 | 4 |
As you can see we now have three collections that are related to each other. We have three colleges. Each college can have one or more professors, and each professor can have one or more courses.
Step 3: Inserting the HTML Control

Step 3:
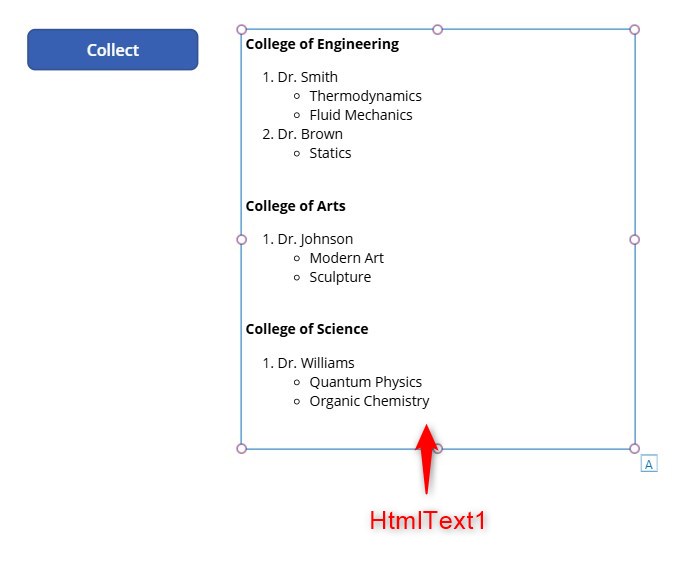
Insert an HTML Text control and name it HtmlText1. Change the following properties:
HtmlText property
Concat(
    colColleges As Colleges,
    "<b>" & Colleges.College & "</b><br>" & "<ol>" & Concat(
        Filter(
            colProfessors,
            CollegeID = Colleges.ID
        ) As Professors,
        "<li>" & Professors.Professor & "<br><ul>" & Concat(
            Filter(
                colCourses,
                ProfessorID = Professors.ID
            ),
            "<li>" & Course & "</li>"
        ) & "</ul></li>"
    ) & "</ol><br>"
)
AutoHeight property
trueConclusion

You can see from the last step that by using an HTML Control and using nested Concat method in the HTMLtext property, you can have an alternative of displaying data instead of nesting galleries.
This method does not have a limited number of levels, therefore you can nest as many Concat as you want as long as your the app and your device is able to handle it.
Did this article help? Let us know how we can improve. Send us a message by clicking the “Contact Us” button below.
Article last updated on February 1, 2025
Need expert guidance on Power Apps?