Power Apps- Collection data to HTML table
3 steps

Introduction:
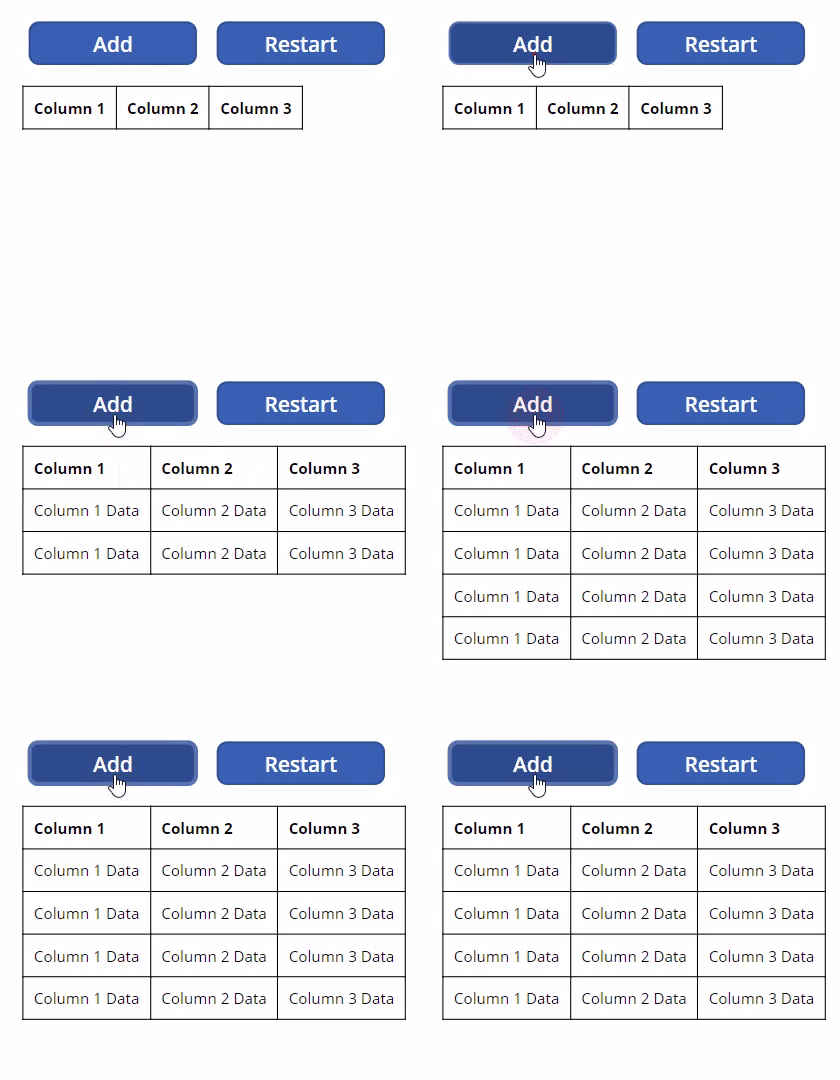
We will set up controls where we turn collection data into an HTML table using an HTML label control. This table is dynamic based on the number of rows in the collection.

Step 1:
Insert a button named Button1. Change the following properties:
Text property
"Add"OnSelect property
Collect(collTable,
{
Column1:"Column 1 Data",
Column2:"Column 2 Data",
Column3:"Column 3 Data"
})
Step 2:
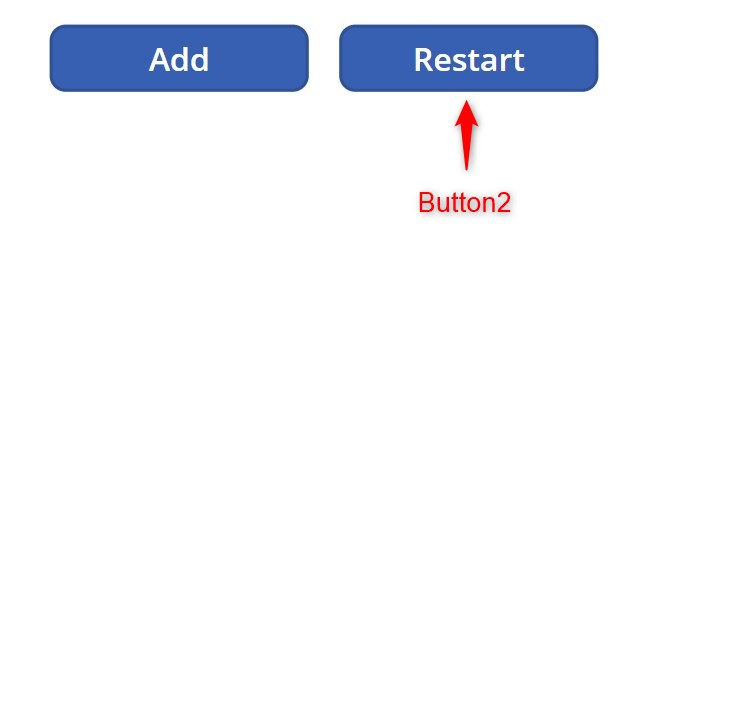
Insert a button named Button2 beside Button1. Change the following properties:
Text property
"Restart"OnSelect property
Clear(collTable)
Step 3:
Insert an HTML Text control named HtmlText1. Change the following properties:
Text property
With({
    cellStyle:"style='border: 1px solid black; padding:10px'"},

$"<table style='border-collapse: collapse;'>
<tr>
<th {cellStyle}>Column 1</th>
<th {cellStyle}>Column 2</th>
<th {cellStyle}>Column 3</th>
</tr>
{
Concat(collTable, $"
<tr>
<td {cellStyle}>{Column1}</td>
<td {cellStyle}>{Column2}</td>
<td {cellStyle}>{Column3}</td>
</tr>")
}
</table>
")
Conclusion:
Test it by clicking the Button1 (“Add”). You will see that as you add rows to the collection, the HTML control will also display the added row as part of the table.
Did this article help? Let us know how we can improve. Send us a message by clicking the “Contact Us” button below.
Article last updated on Feb 27, 2024
Need expert guidance on Power Apps?