Power Apps – Create a draggable object (horizontal)
4 steps

Introduction:
We will create a set up where an icon can be dragged and relocated horizontally.

Step 1:
Insert an icon (any icon) named Icon1. Change the following properties:
Width property
100Height property
100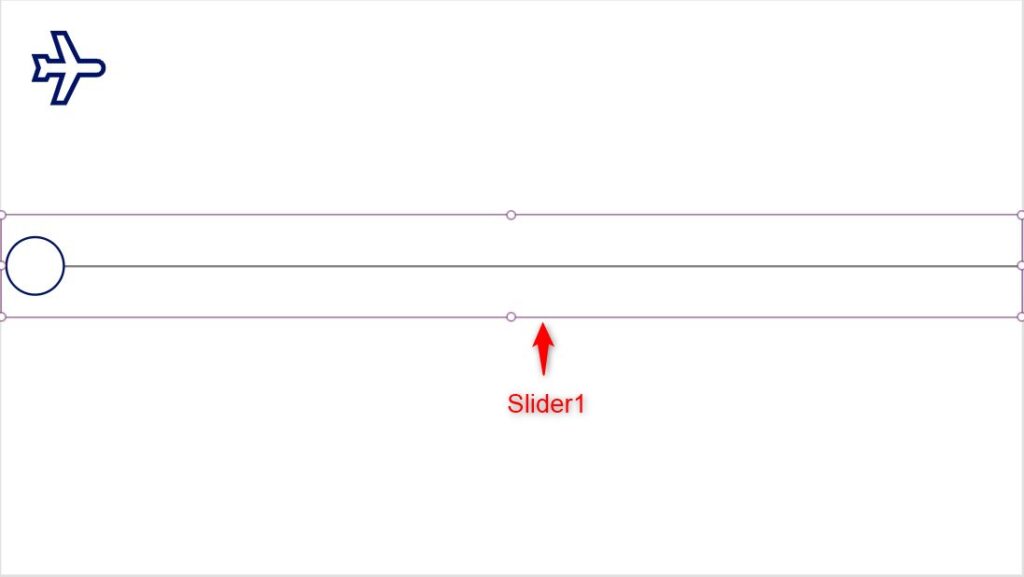
Step 2:
Insert a slider named Slider1. Change the following properties:
Max property
1366HandleSize property
80X property
0Y property
287Width property
1366Height property
136
Step 3:
Select Icon1. Change the following properties:
Y property
305X property
Slider1.Value-45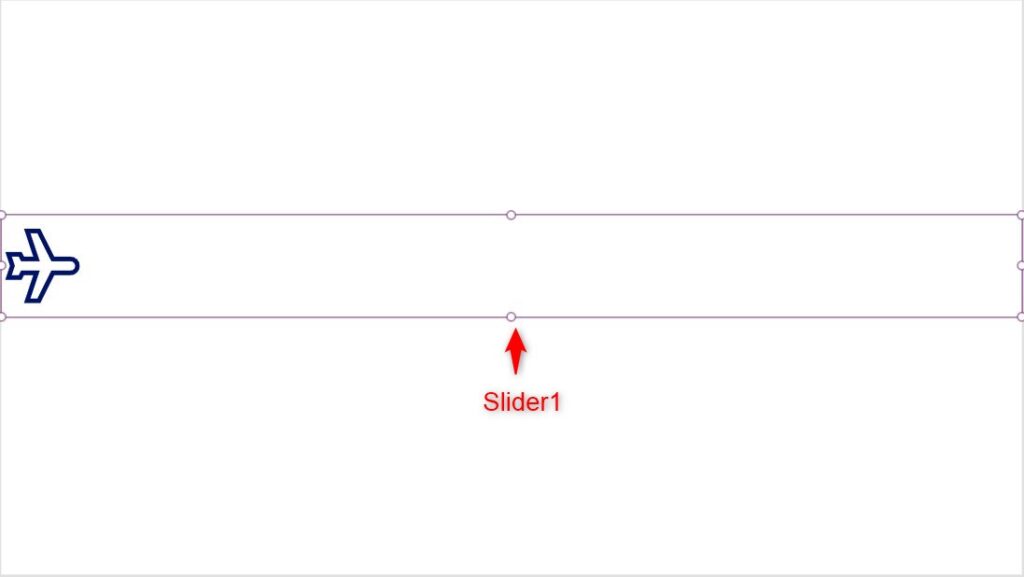
Step 4:
Select Slider1. Change the following properties:
ShowValue property
falseFocusedBorderThickness property
0RailFill property
Color.TransparentValueFill property
Color.TransparentHandleFill property
Color.TransparentConclusion:
To test, drag the airplane icon side by side. You see that the user is really dragging the slider but it is not seen because it is transparent.
Did this article help? Let us know how we can improve. Send us a message by clicking the “Contact Us” button below.
Article last updated on Mar 12, 2024
Need expert guidance on Power Apps?


