Power Apps – Customized fade-in and fade-out notification
5 steps

Introduction:
This is the blueprint on how to make your own fade-in and fade-out notification out of a label and container. The out-of-the-box Notify function is used for notification messages, but if you want a notification that is customized and in the canvas screen, you may follow this tutorial.

Step 1:
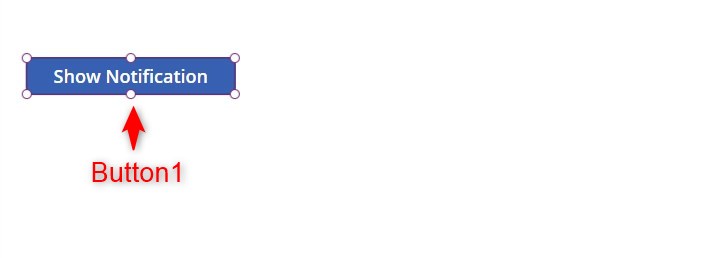
Insert a button named Button1. Change the following properties:
Text property
"Show Notification"OnSelect property
UpdateContext({varTimerStart:true})
Step 2:
Insert a timer named Timer1. Change the following properties:
Duration property
4000OnTimerEnd property
UpdateContext({varTimerStart:false})Reset property
trueStart property
varTimerStart
Step 3:
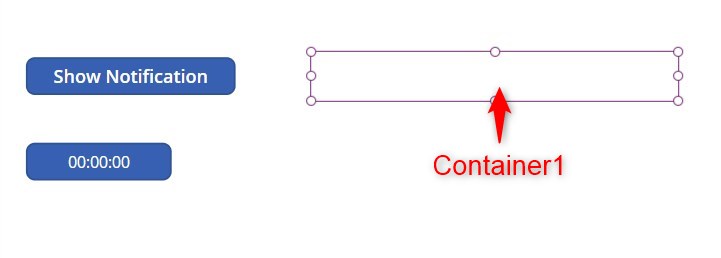
Insert a container named Container1. Change the following properties:
DropShadow property
DropShadow.NoneWidth property
400Height property
50BorderRadius (RadiusBottomLeft, RadiusBottomRight, RadiusTopLeft, RadiusTopRight) property
30Fill property
RGBA(85, 138, 41,
If(Timer1.Value < 3700,Timer1.Value /300,1 - ((Timer1.Value - 3700) /300)))
Note: the container will seem invisible for now

Step 4:
Insert a label named Label1 inside Container1. Change the following properties:
Text property
"You have saved the item successfully."Align property
Align.CenterWidth property
Parent.WidthHeight property
Parent.HeightX property
0Y property
0Color property
RGBA(255, 255, 255, 1)Note: the label may seem invisible for now

Step 5:
Select Timer1. Change the following properties:
Visible property
false
Conclusion:
To test, activate play mode. Click the ‘Show Notification’ button. You will notice that the notification fades in, shows for a while, and then fades out slowly. You can use this as an alternative for the built-in Notify function in Power Apps canvas apps.
Did this article help? Let us know how we can improve. Send us a message by clicking the “Contact Us” button below.
Article last updated on June 25, 2024
Need expert guidance on Power Apps?