Power Apps – Get an attachment control
6 steps
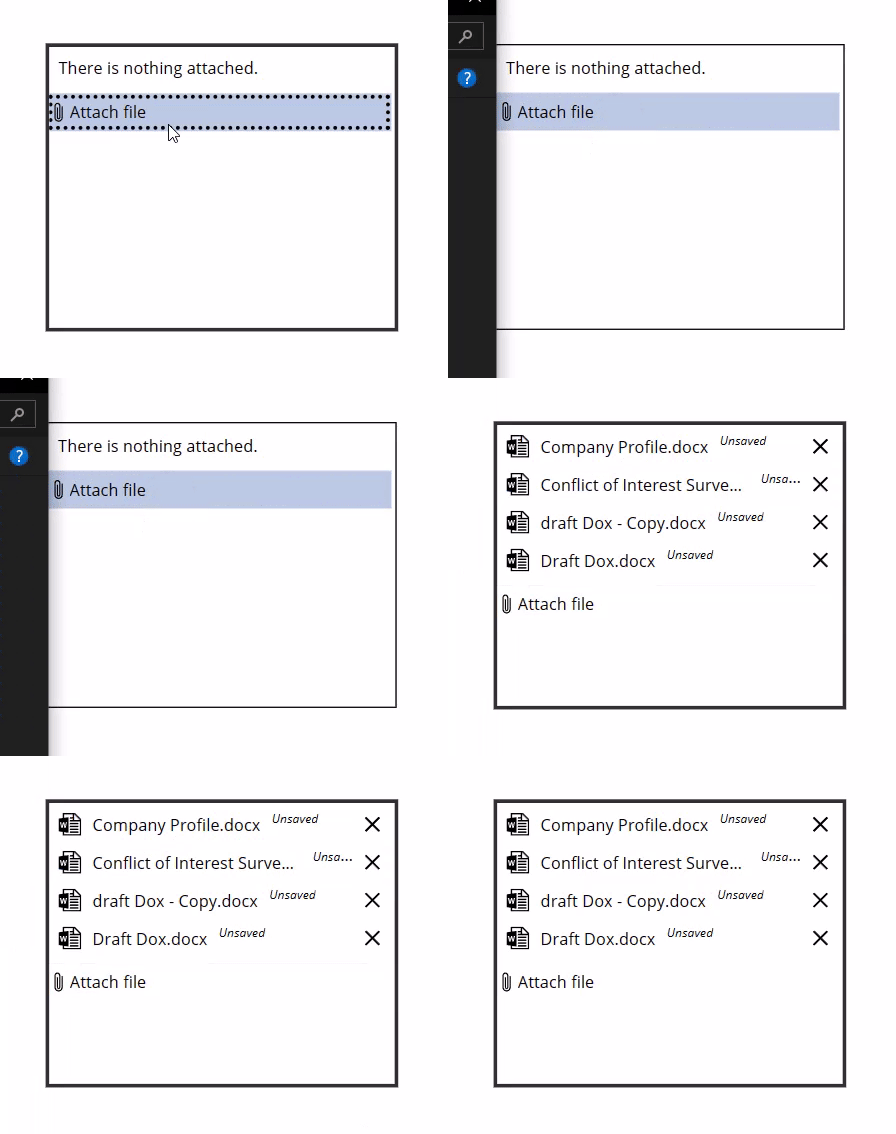
Introduction:
We will learn how to get the attachment control from a form. As of writing, there is no option to insert a single attachment control to the canvas. Therefore, we need to “steal” from a form.
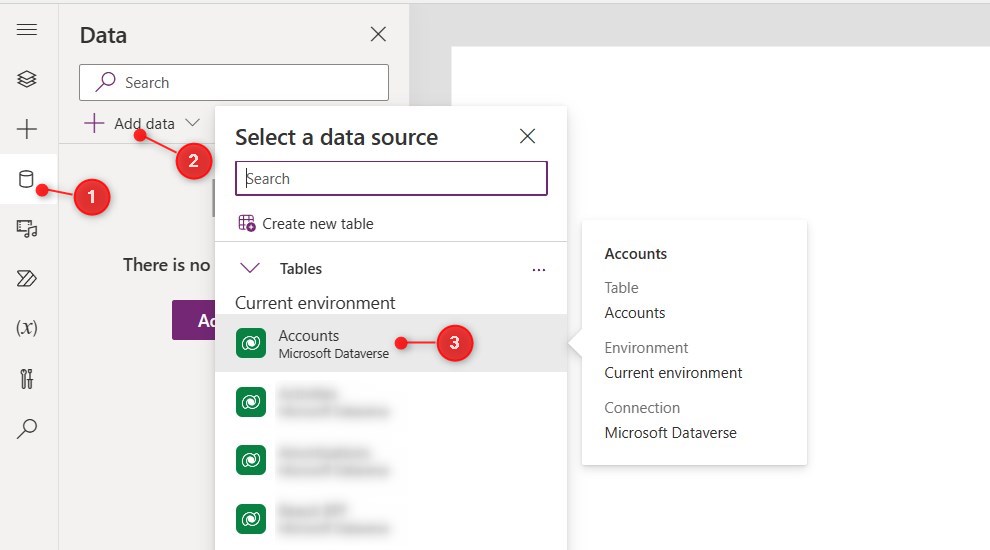
Step 1:
Add a data source. It can be SharePoint, Dataverse, or any other. In this example we will choose a pre-built table named Accounts in Dataverse.
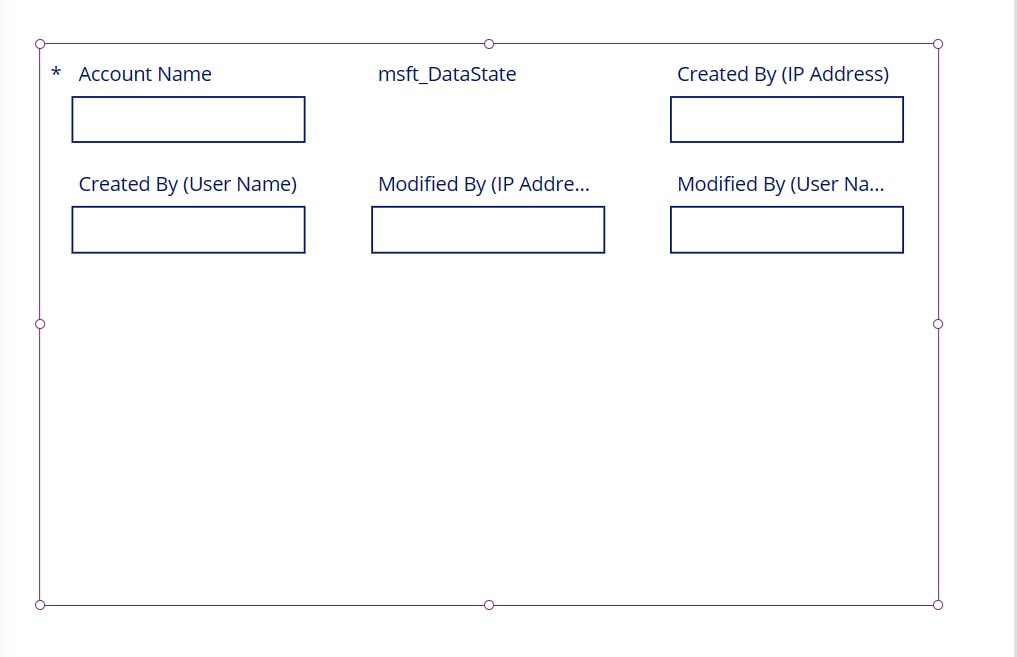
Step 2:
Insert an Edit Form. Change the following properties:
DataSource property
AccountsNote: Other fields may or may not show. In the example picture, some fields are showing.

Step 3:
Select the Form and go to ‘Add Field’
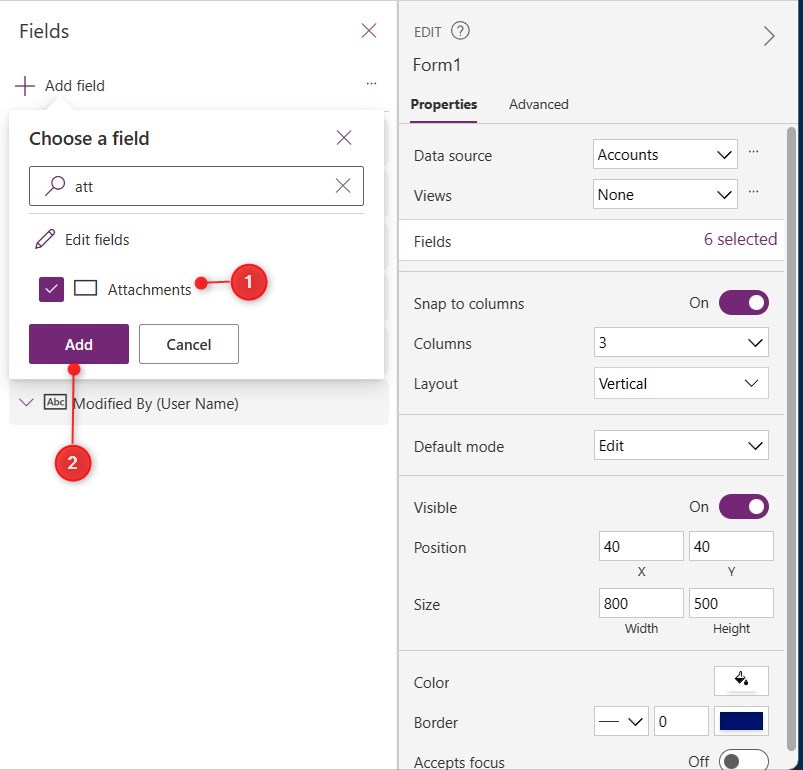
Step 4:
Add the Attachments column.
Step 5:
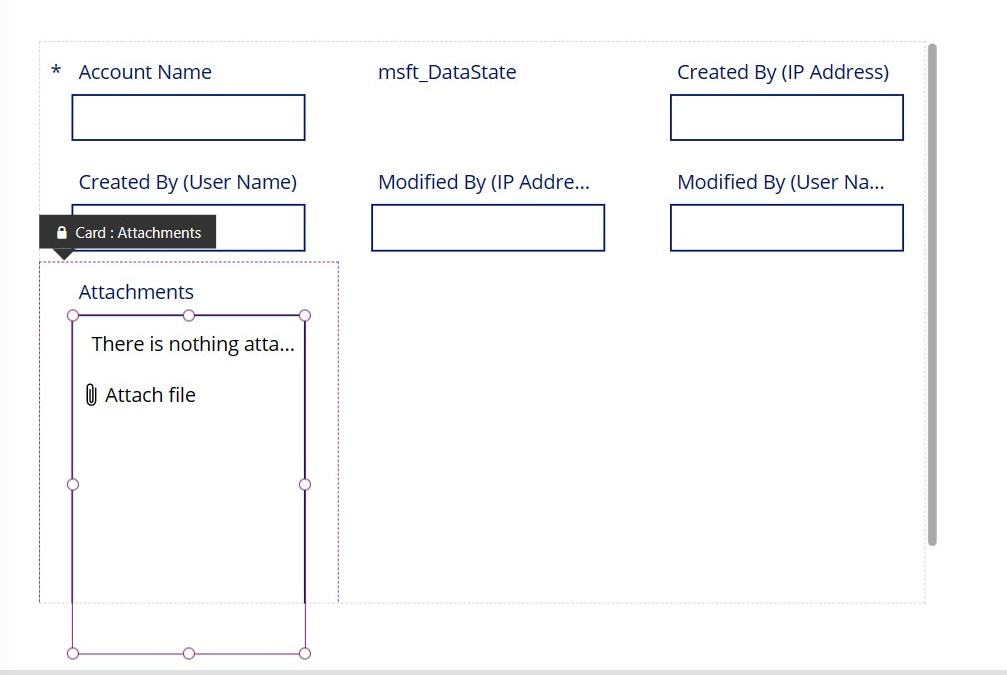
The form will display the Attachments section. Select the Attachment control (DataCardValue) and copy it.
Step 6:
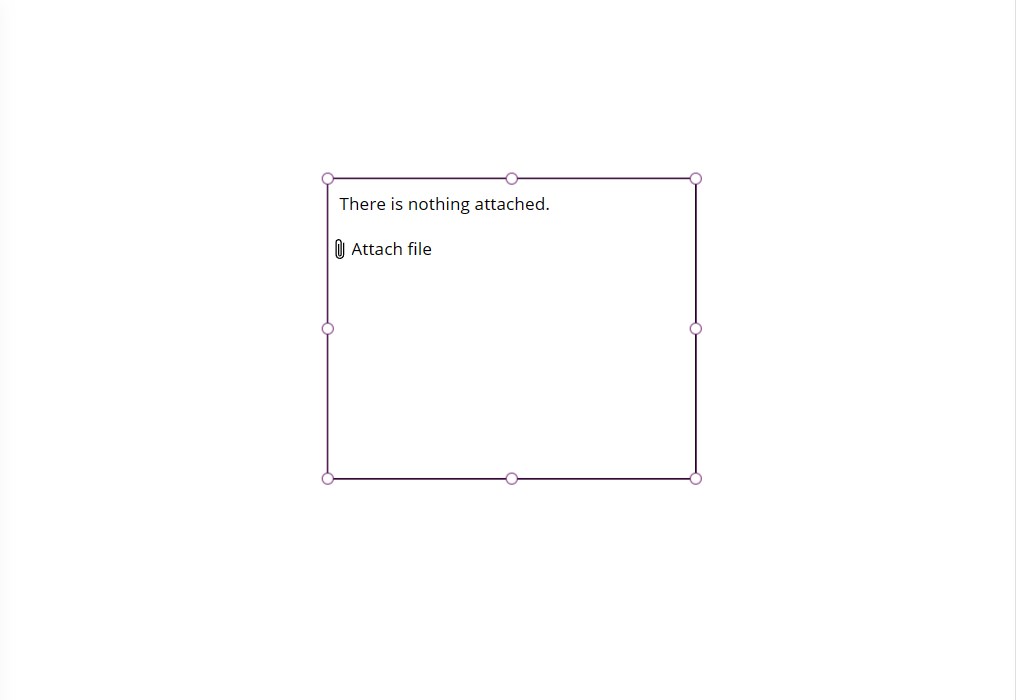
Paste the copied Attachment control on another screen. Change the following properties:
Items property
Blank()BorderColor property
Color.BlackDisplayMode property
DisplayMode.EditTooltip property
""
Conclusion:
From this standalone attachment control, you can set it up further by modifying its properties.
Did this article help? Let us know how we can improve. Send us a message by clicking the “Contact Us” button below.
Article last updated on Mar 8, 2024
Need expert guidance on Power Apps?