Power Apps – Image annotation tool that saves to PDF
16 steps
Introduction:
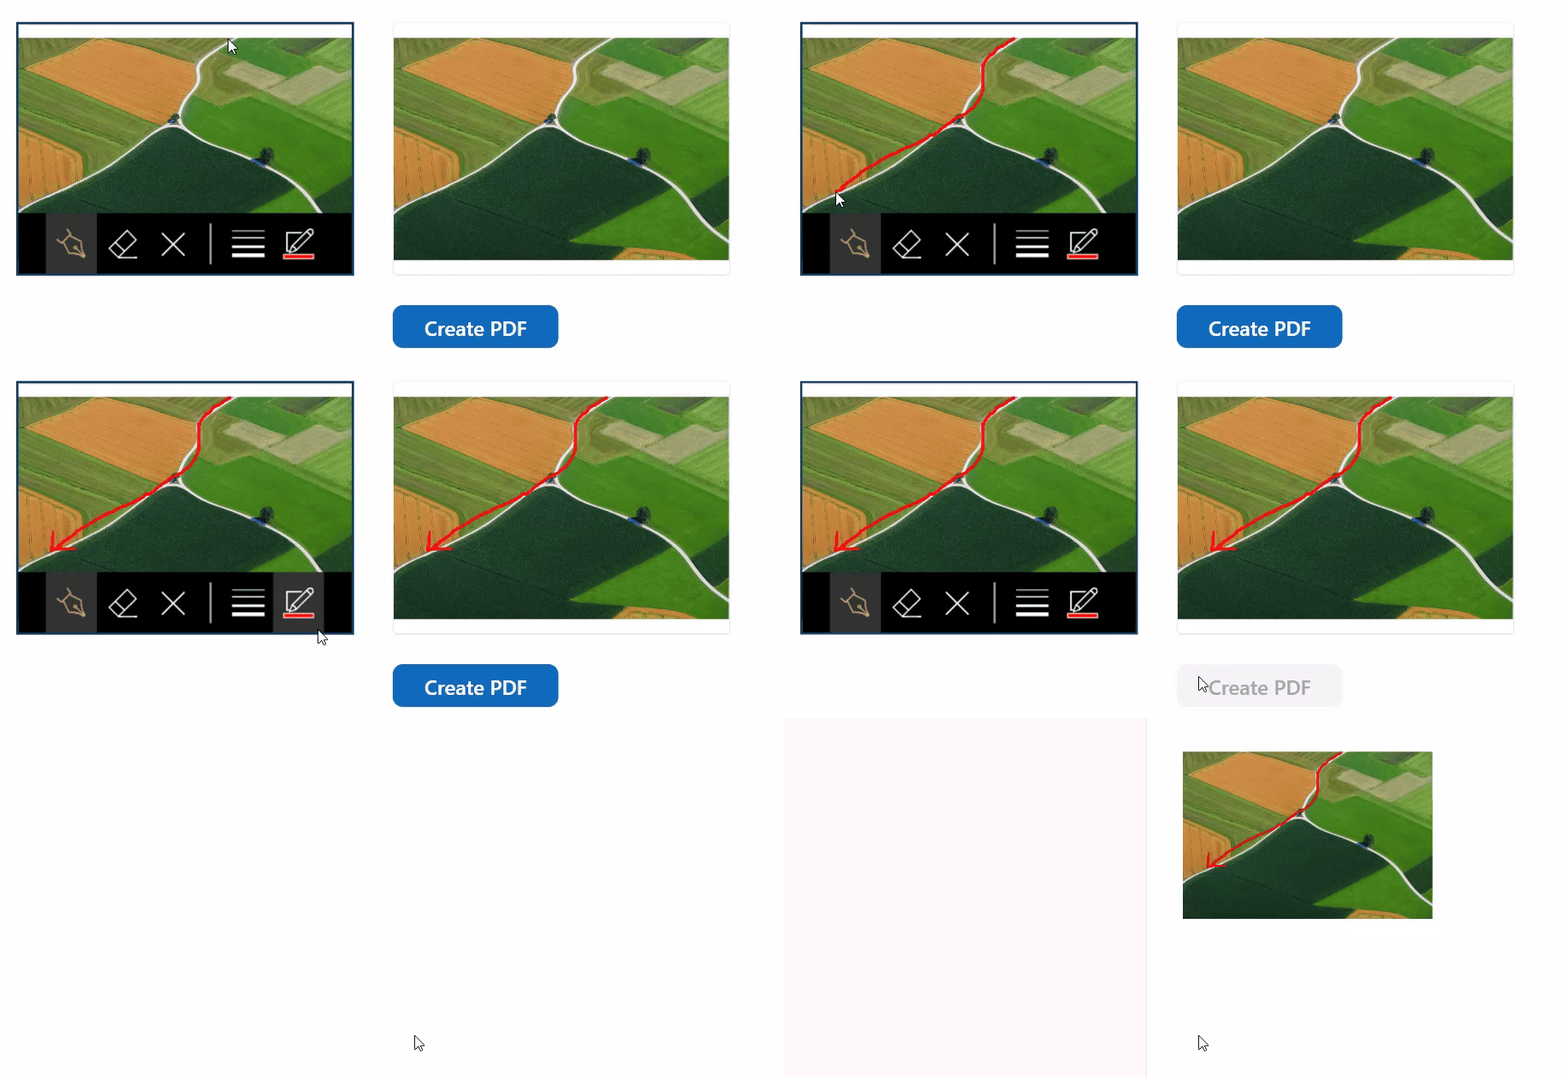
This is the blueprint on how to have an image annotation tool. On top of that, the annotated image will be saved into a PDF file.
Step 1:
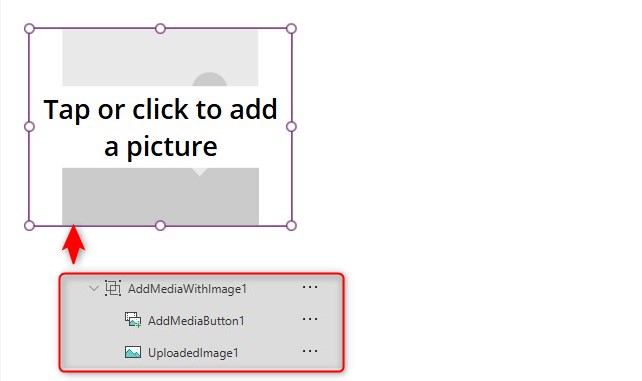
Insert an “Add Picture” control. By default it is grouped and the following naming convention of the controls in the group should be:
- AddMediaButton1
- UploadedImage1
Step 2:
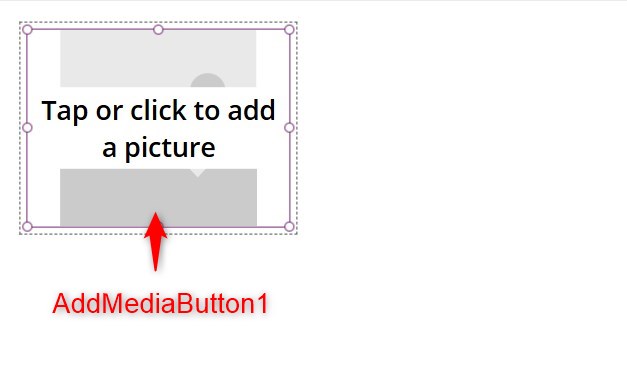
Select AddMediaButton1 from the tree view. Change the following properties:
ChangePictureText property
""
Step 3:
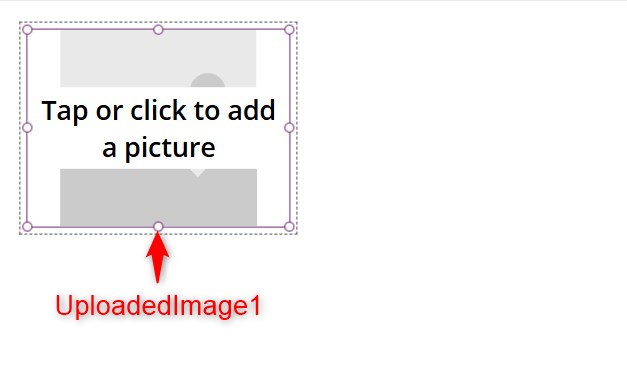
Select UploadedImage1 from the tree view. Change the following properties:
Image property
If(IsBlank(AddMediaButton1.Media), SampleImage, AddMediaButton1.Media)ImagePosition property
ImagePosition.Fit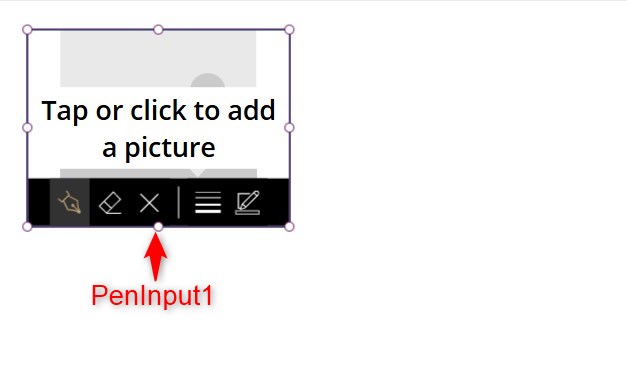
Step 4:
Insert a Pen Input control named PenInput1 over the ‘Add Picture’ control. We will make PenInput1 to be the same size as the UploadedImage1 control. Change its properties into:
Width property
UploadedImage1.WidthHeight property
UploadedImage1.HeightX property
UploadedImage1.XY property
UploadedImage1.YVisible property
!IsBlank(AddMediaButton1.Media)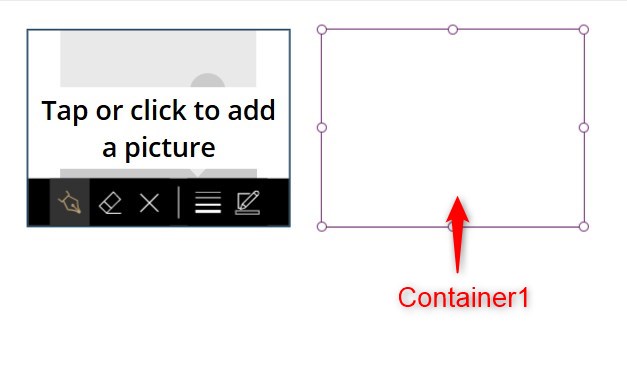
Step 5:
Insert a container named Container1 beside the ‘Add Picture’ control. Change its properties into:
Width property
UploadedImage1.WidthHeight property
UploadedImage1.Height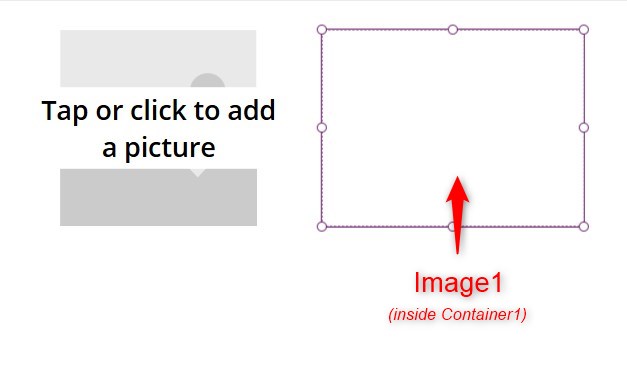
Step 6:
Insert an image control named Image1 inside Container1. Change the following properties:
ImagePosition property
ImagePosition.FitHeight property
Parent.HeightWidth property
Parent.WidthX property
0Y property
0Image property
AddMediaButton1.Media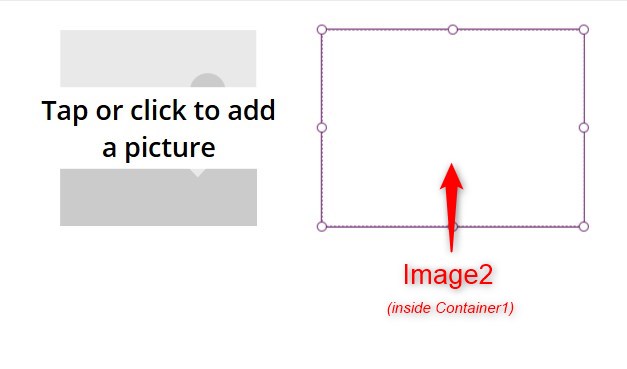
Step 7:
Insert an image control named Image2 inside Container1. Change the following properties:
ImagePosition property
ImagePosition.FitWidth property
Parent.WidthHeight property
Parent.HeightX property
0Y property
0Image property
PenInput1.Image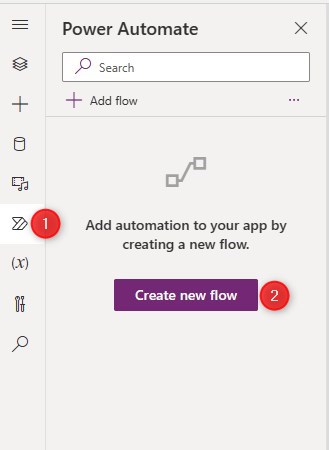
Step 8:
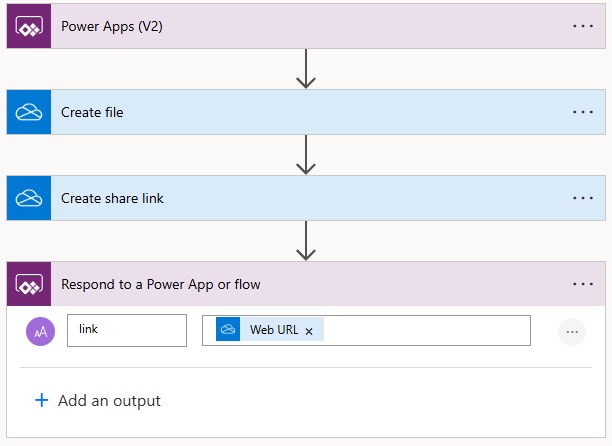
From the Power Automate pane, create a blank flow and entitle it Convert Image To PDF

Step 9:
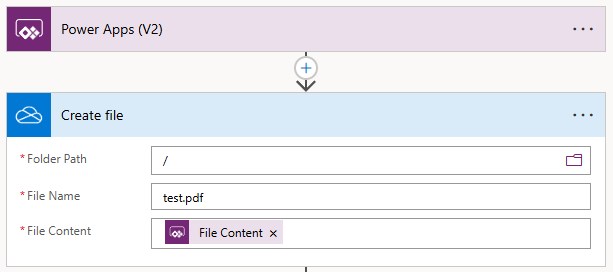
In the PowerApps (V2) trigger. Add the following inputs:
 File Content
Step 10:
Add the following action:

Create file
Folder Path /
File Name test.pdf
File Content 
Step 11:
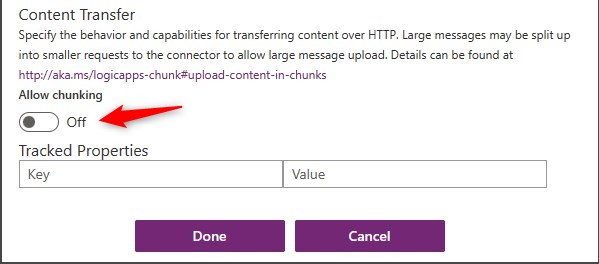
Go to settings of Create file. Turn Allow Chunking to Off so that the file will overwrite existing ones.
Step 12:
Add the following action:

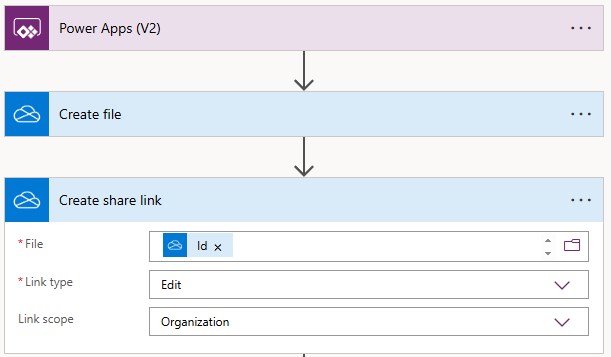
Create share link
File
Link Type Edit
Link Scope Organization
Step 13:
Add the following action:

Respond to a PowerApp or flow
 link =
Checking:
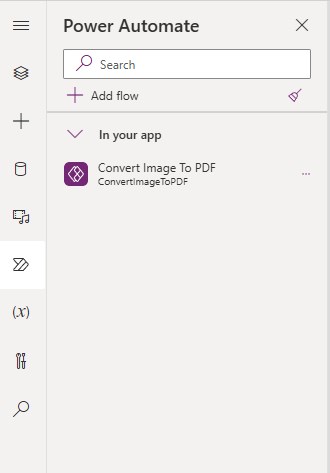
Save the flow and exit. You should return from the Power App studio.
The flow named Convert Image To PDF should be in your Power Automate pane.
Step 14:
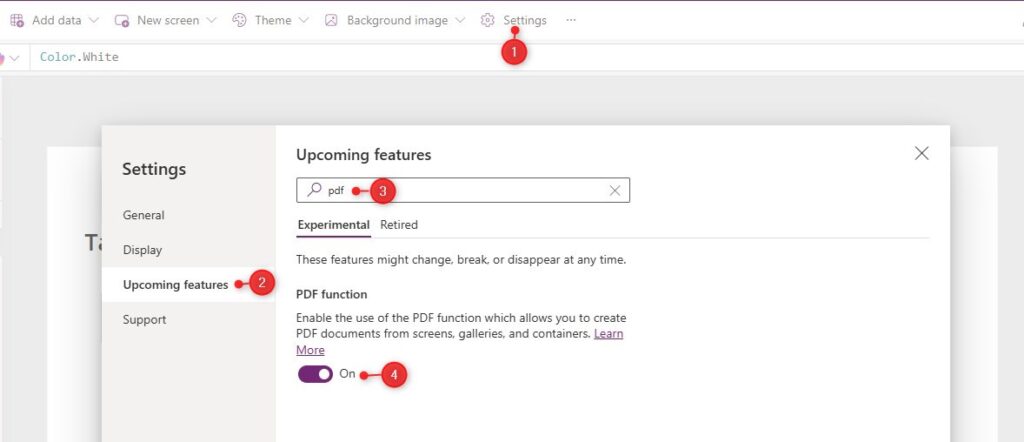
We need to enable the PDF function. As of writing, this feature is still in experimental phase and it is turned off by default. Turn on this feature by doing the following:
- Go to Settings
- Select the ‘Upcoming features’ tab on the left pane
- Search for ‘pdf’
- Turn on the PDF function toggle
Step 15:
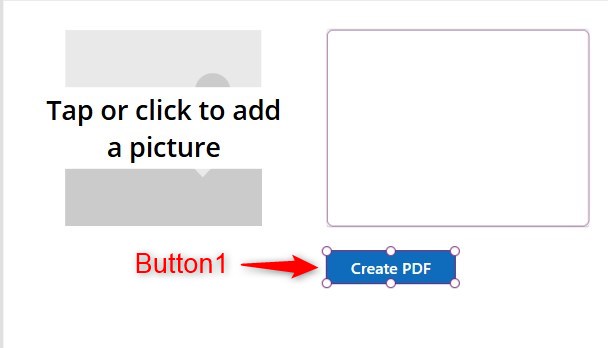
Back to the Power App canvas, insert a button named Button1. Change the following properties:
Text property
"Create PDF"OnSelect property
Launch(ConvertImageToPDF.Run(
    {
        file:
            {
            name: "test.pdf",
            contentBytes: PDF(Container1)
            }
    }
    ).link);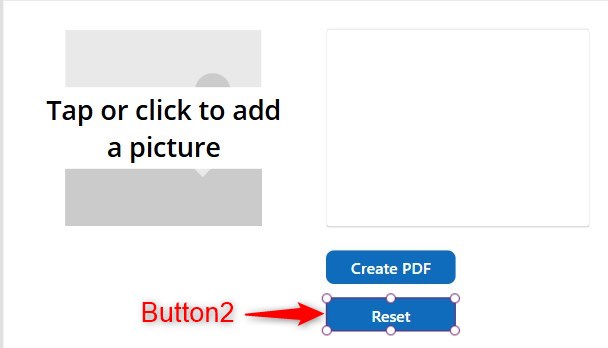
Step 16:
Insert a button named Button2. Change the following properties:
Text property
"Reset"OnSelect property
Reset(AddMediaButton1);Reset(PenInput1)
Conclusion:
To test the annotation tool on play mode:
- Click on the Add Picture control and select an image file from your computer.
- After selecting the file, draw anything on the image using the pen input control. You will notice that the picture on the right side also mirrors what is on the left
- Hit the Create PDF button. After a few seconds, a new tab will open in the browser showing the PDF results of the annotated image.
Click the reset button if you want to reset the control and add another picture.
As of writing, we have not find a way to convert the annotated image into an image file with specified width and height. In Power Automate, you can convert the PDF into a JPEG, but the size will remain like a PDF page size.
Did this article help? Let us know how we can improve. Send us a message by clicking the “Contact Us” button below.
Last Updated: May 22, 2024
Need expert guidance on Power Apps?