Power Apps – Patching a control from a nested gallery
9 steps
Overview
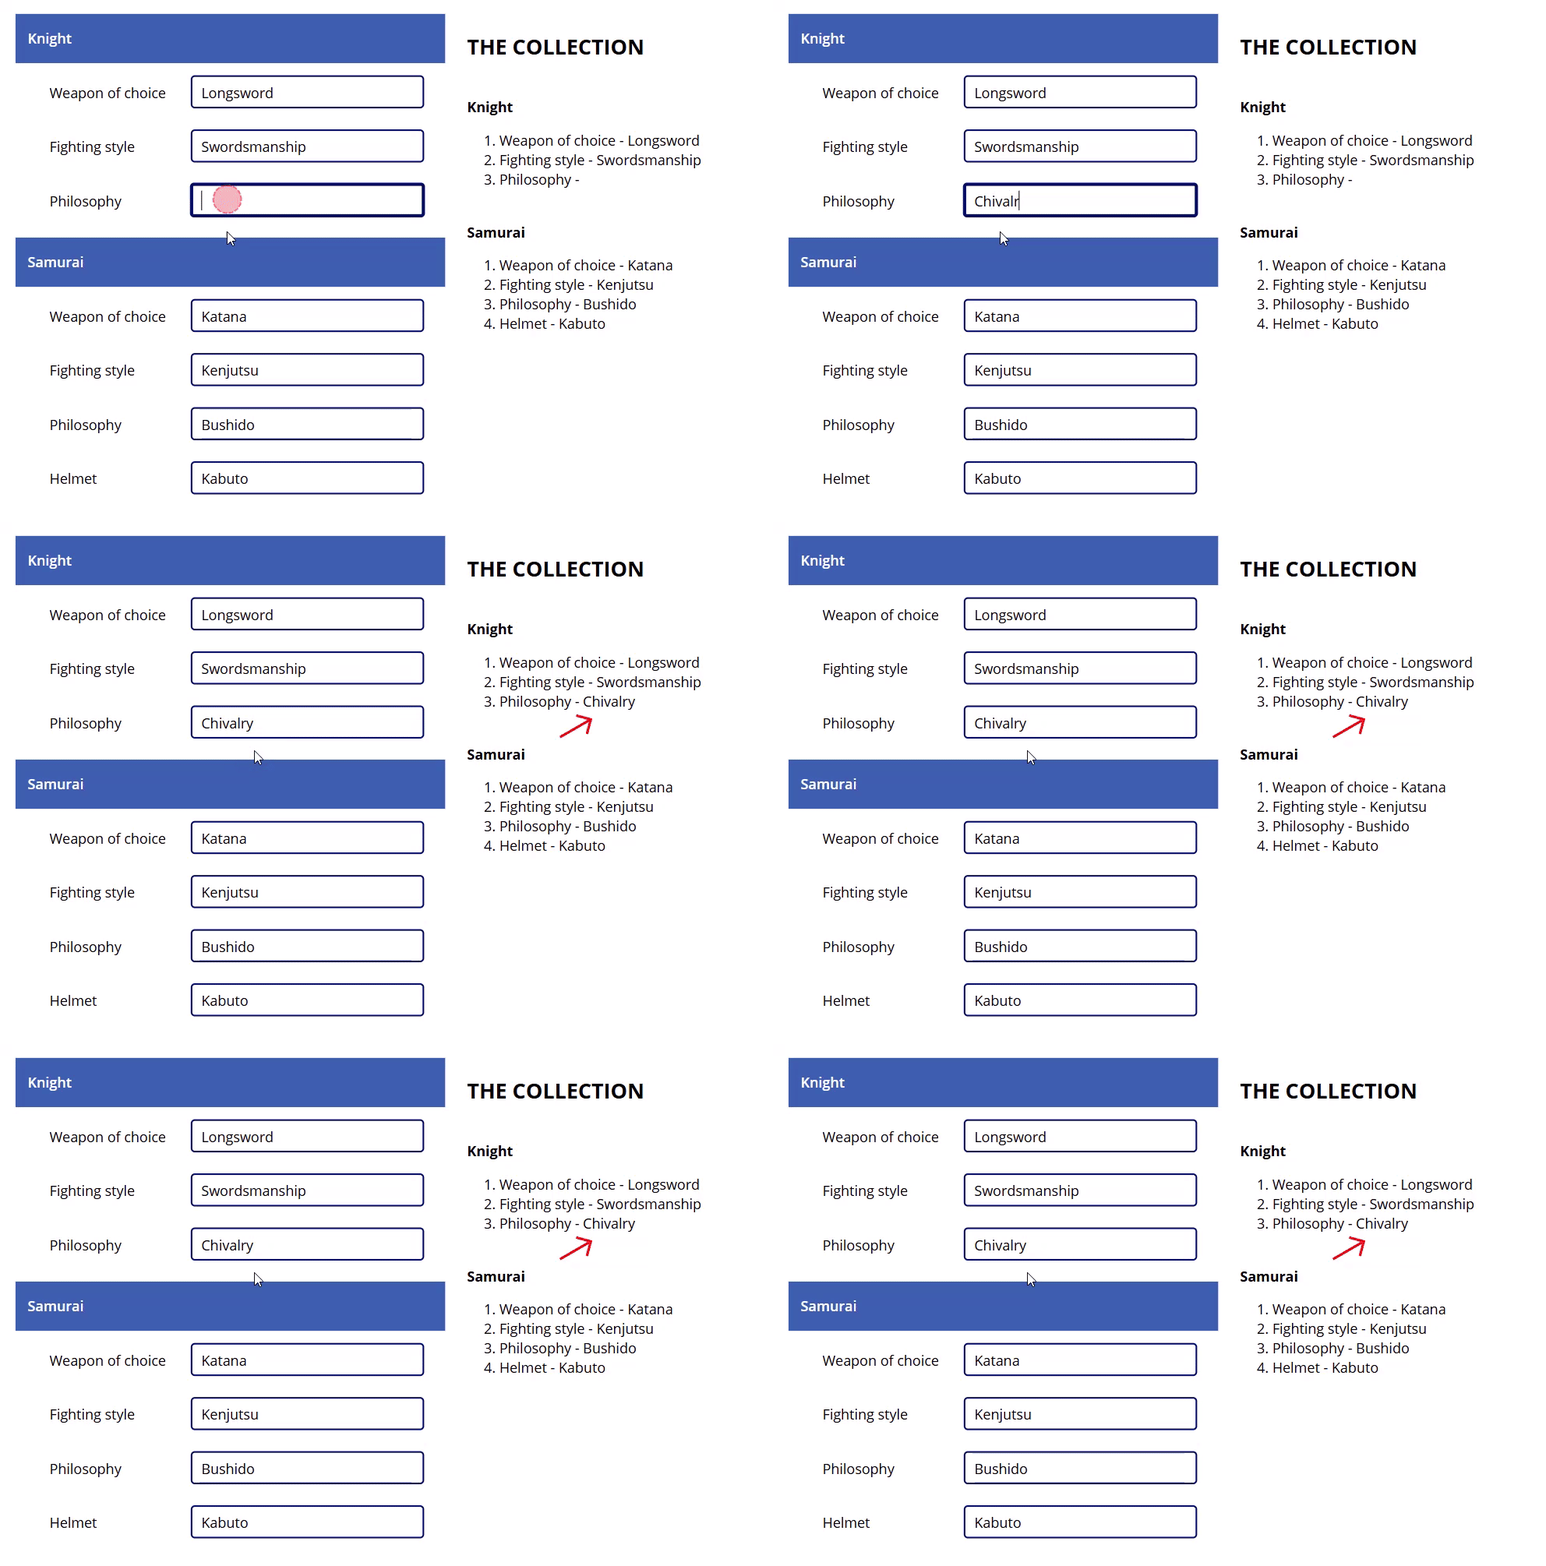
As of writing, referencing controls from a nested gallery somehow does not work (happy to be proven wrong). This blueprint will show the concept of a workaround on how to patch values from controls inside a nested gallery.
Short Answer: Use a collection for your gallery items and in the OnChange property of your control in a nested gallery, patch the corresponding record in that collection. Once the user want to save in the data source, use the collection to patch to the data source.
See below for step-by-step instructions for a demonstration of this concept.
Step 1: Reset Button
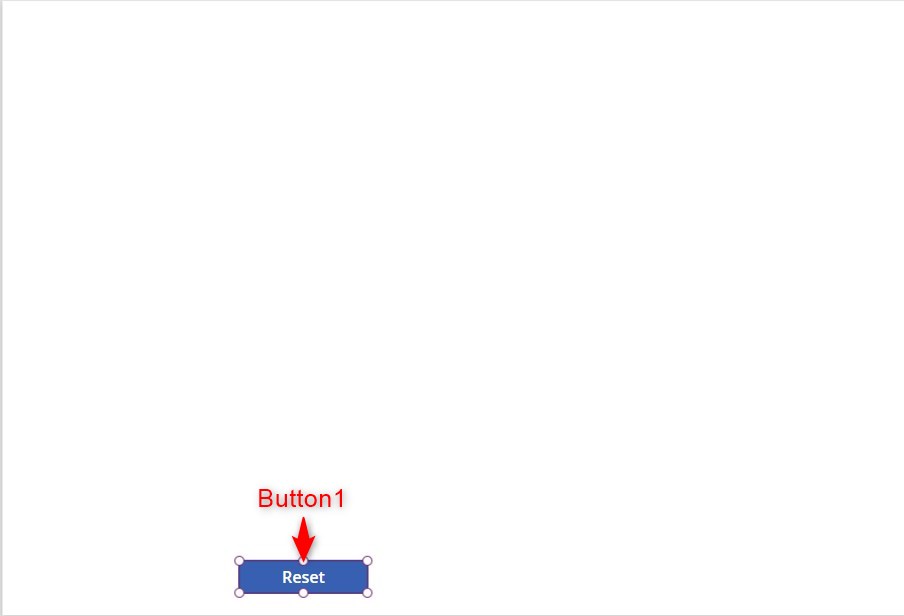
Step 1:
Insert a button and name it Button1. Change the following properties:
Text property
"Reset"OnSelect property
ClearCollect(colWarriors,Table({ID:1,Warrior:"Knight"},{ID:2,Warrior:"Samurai"}));
ClearCollect(colCriteria,
Table(
    {ID:1,WarriorID:1,Criteria:"Weapon of choice",Answer:""},
    {ID:2,WarriorID:1,Criteria:"Fighting style",Answer:""},
    {ID:3,WarriorID:1,Criteria:"Philosophy",Answer:""},
    {ID:4,WarriorID:2,Criteria:"Weapon of choice",Answer:""},
    {ID:5,WarriorID:2,Criteria:"Fighting style",Answer:""},
    {ID:6,WarriorID:2,Criteria:"Philosophy",Answer:""},
    {ID:7,WarriorID:2,Criteria:"Helmet",Answer:""})
);
Step 2: Setting up the collections
Step 2:
Activate Play mode. Click on the Reset button so that our collections will be created. Check if the collections has been created.
Step 3: Save button
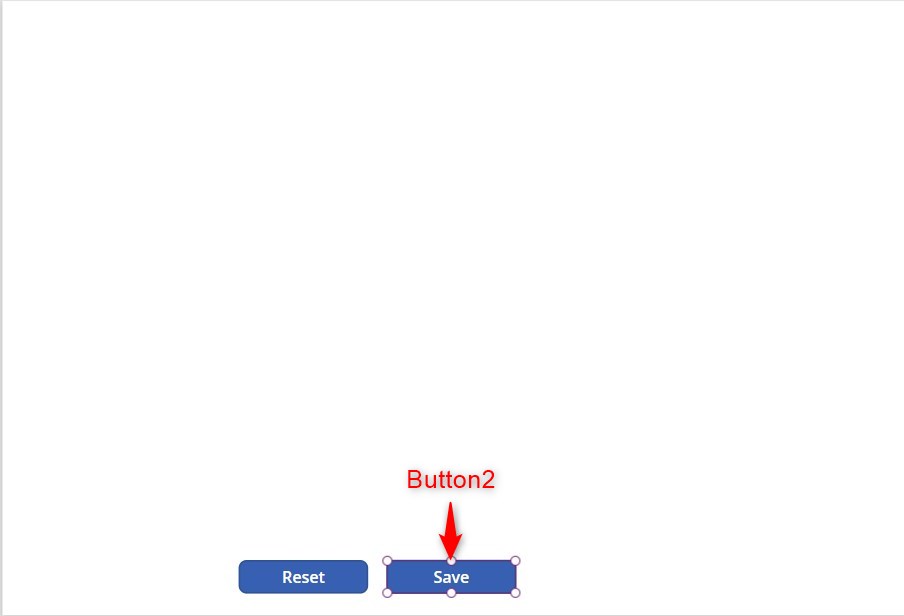
Step 3:
Exit play mode. Insert a button and name it Button2. Change the following properties:
Text property
"Save"OnSelect property
/*You may put your patching to data source code here.
The code below is just an example
ForAll(colCriteria As CurrentItem,
Patch(YourDataSource,LookUp(YourDataSource,ID = CurrentItem.ID),
{
    Answer:CurrentItem.Answer
}
))
*/
Note: This is the save button intended to patch to your data source. For this demonstration, it will do nothing when clicked. You have to create your formula to patch the collection values into your data source
Step 4: Parent Gallery – Warrior
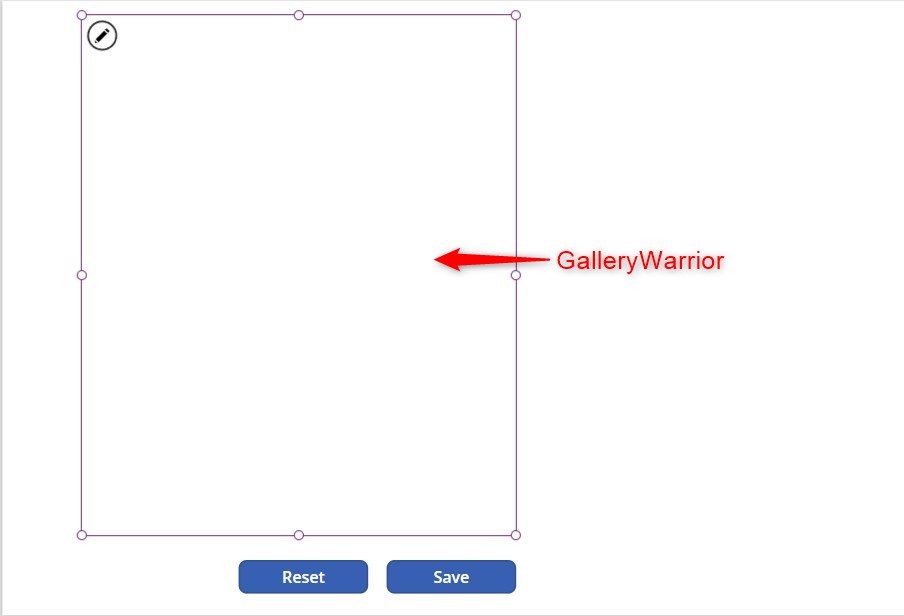
Step 4:
Insert a blank flexible height gallery and name it GalleryWarrior. Change the following properties:
Items property
colWarriorsTemplateSize property
280Step 5: Parent Gallery Header
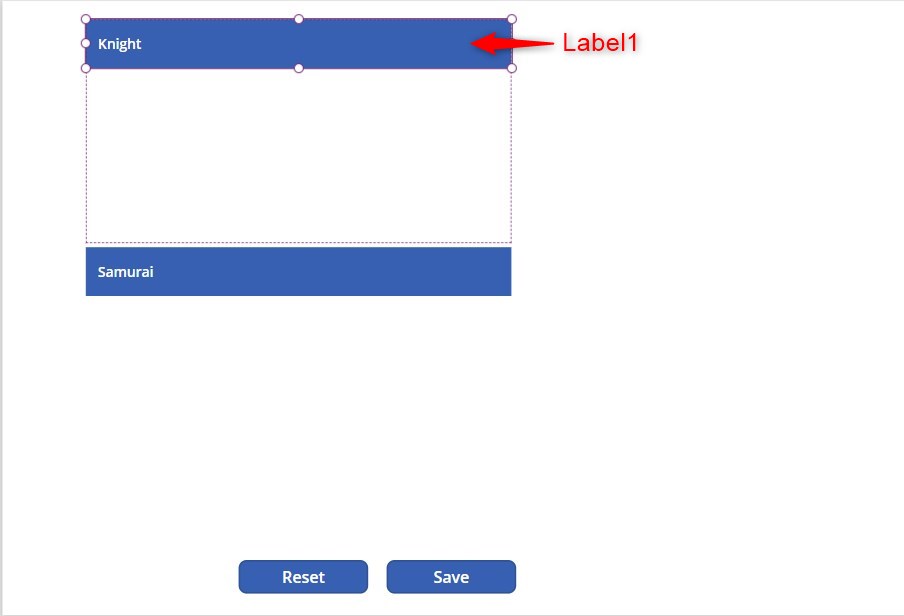
Step 5:
Insert a label inside GalleryWarrior and name it Label1. Place it on top and stretch the width out as much as possible as we will make it into a header. Change the following properties:
Text property
ThisItem.WarriorFill property
RGBA(56, 96, 178, 1)Color property
RGBA(255, 255, 255, 1)FontWeight property
FontWeight.SemiboldPaddingLeft property
15Step 6: Nested Gallery – Criteria
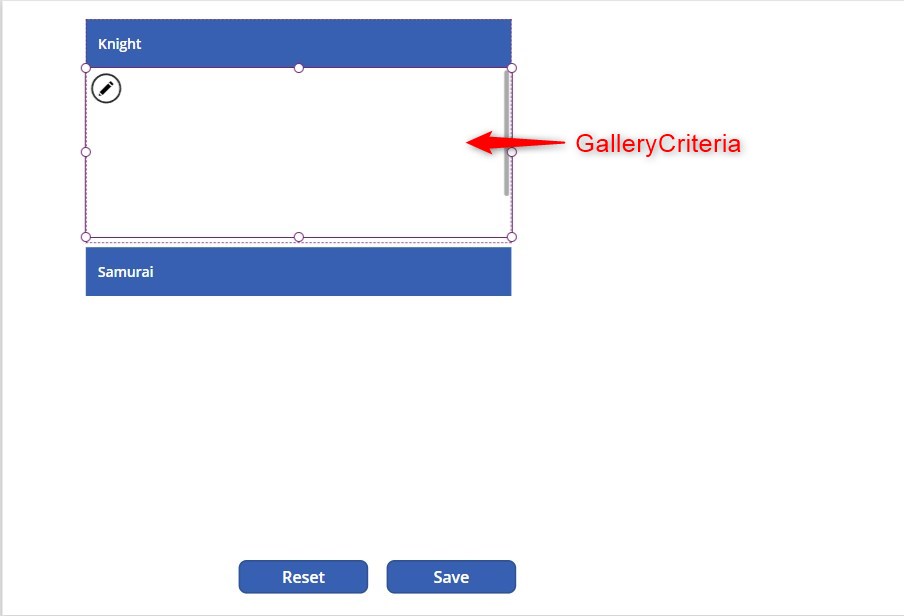
Step 6:
Insert a blank vertical gallery inside GalleryWarrior and name it GalleryCriteria. Place it right below the header and fill in the rest of the space as shown in the picture. Change the following properties:
Items property
Filter(colCriteria,WarriorID=ThisItem.ID)TemplateHeight property
80Height property
Self.AllItemsCount * Self.TemplateHeight + 25Step 7: Criteria Label
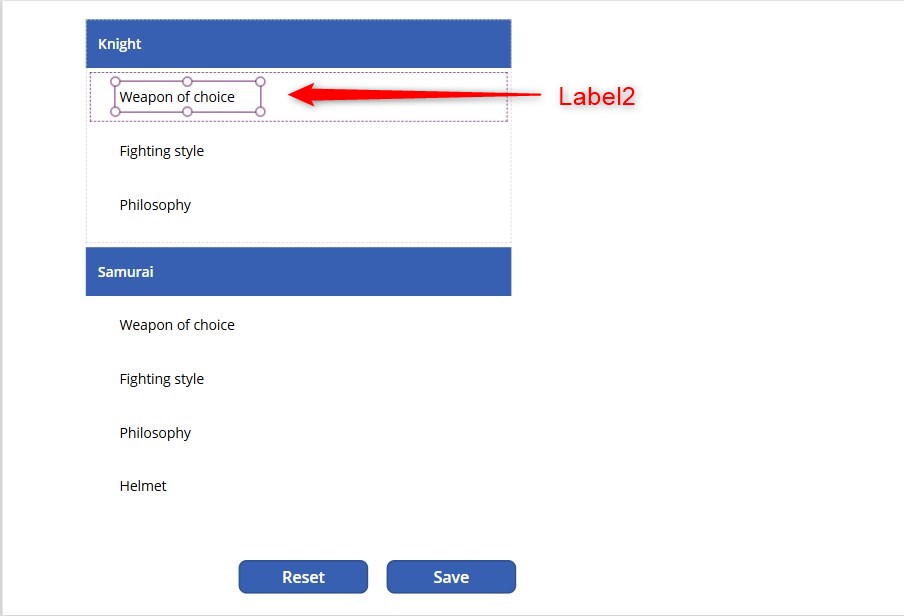
Step 7:
Insert a label inside GalleryCriteria and name it Label2. Change the following properties:
Text property
ThisItem.CriteriaStep 8: Criteria Text Box
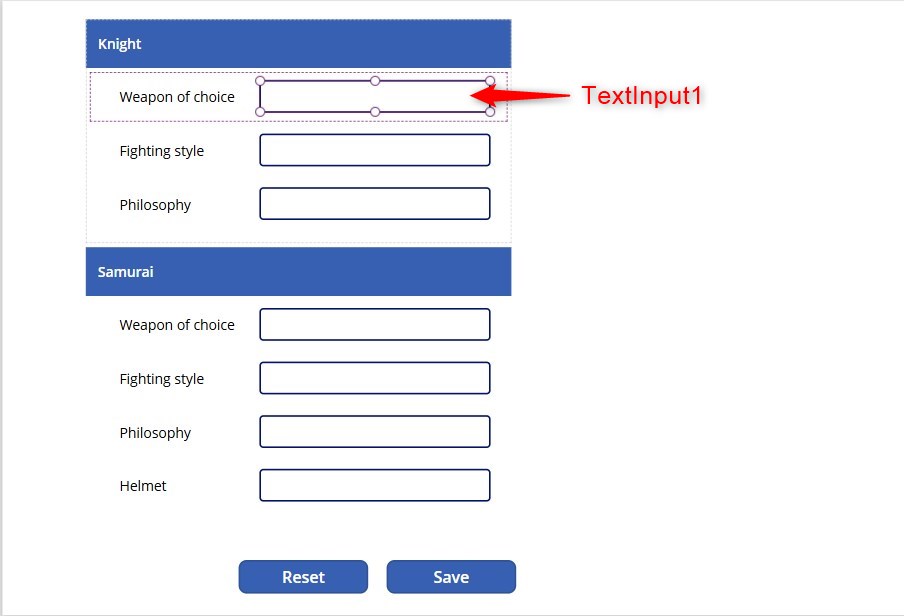
Step 8:
Insert a text input inside GalleryCriteria and name it TextInput1. Change the following properties:
OnChange property
Patch(colCriteria,LookUp(colCriteria,ID=ThisItem.ID),{Answer:TextInput1.Text});
UpdateContext({varShowArrow:true});
Default property
ThisItem.AnswerStep 9: Collection Display

Step 9:
Insert an HTML text control and name it HtmlText1. Change the following properties:
HtmlText property
"<h2>THE COLLECTION</h2><br>"&
Concat(colWarriors As Level1,

"<b>" & Level1.Warrior & "</b><br><ol>" &
Concat(Filter(colCriteria,WarriorID=Level1.ID) As Level2,
"<li>"&Level2.Criteria&" - "&Level2.Answer&"</li>")

,"</ol><br>")
Note: We will use this HTML control just to display the values of our collection.
What does not work
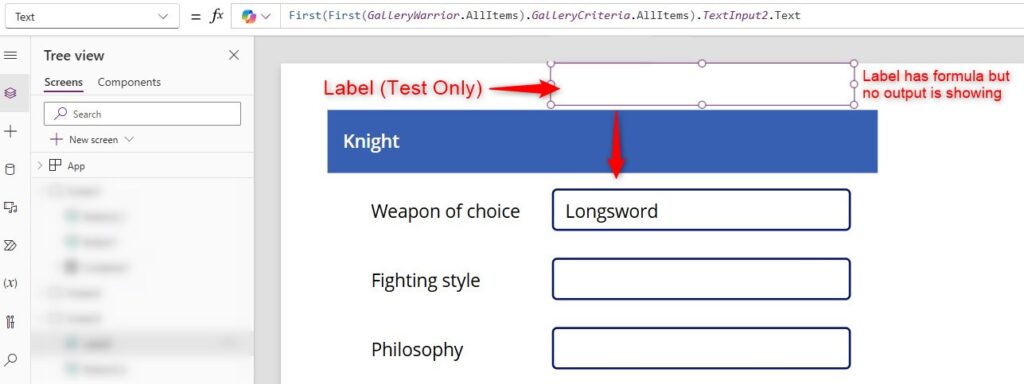
What does not work:
If you put a label anywhere and change its property into:
Text property
First(First(GalleryWarrior.AllItems).GalleryCriteria.AllItems).TextInput2.TextYou will see that there is no output. It does not reference the text box correctly. Therefore using ForAll to reference the control directly will not work.
Conclusion

Conclusion:
Activate play mode, type in some values in the text boxes. As you can see the collection is update after you type in something and focus out on the control.
Now once the user finishes the updates, then he or she can click the save button. This button will update the data source using the values in the collection.
The Save button code provided is just a guide. You need to replace the data source placeholder into your own data source.
Happy low-coding.
Did this article help? Let us know how we can improve. Send us a message by clicking the “Contact Us” button below.
Article last updated on October 2, 2024
Need expert guidance on Power Apps?