Power Apps – Reset a control inside a component
7 steps
Overview
This blueprint will demonstrate in a simple way how to reset controls inside a component.
Step 1: Tree View – Component
Step 1:
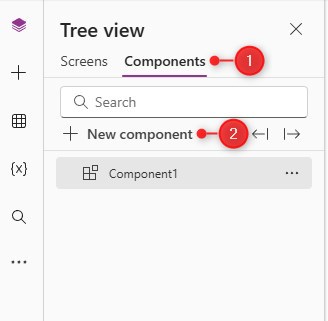
In a blank canvas app, go to the Tree view and do the following:
- Click ‘Components’ tab.
- Click ‘New component’
Step 2: Component Fill
Step 2:
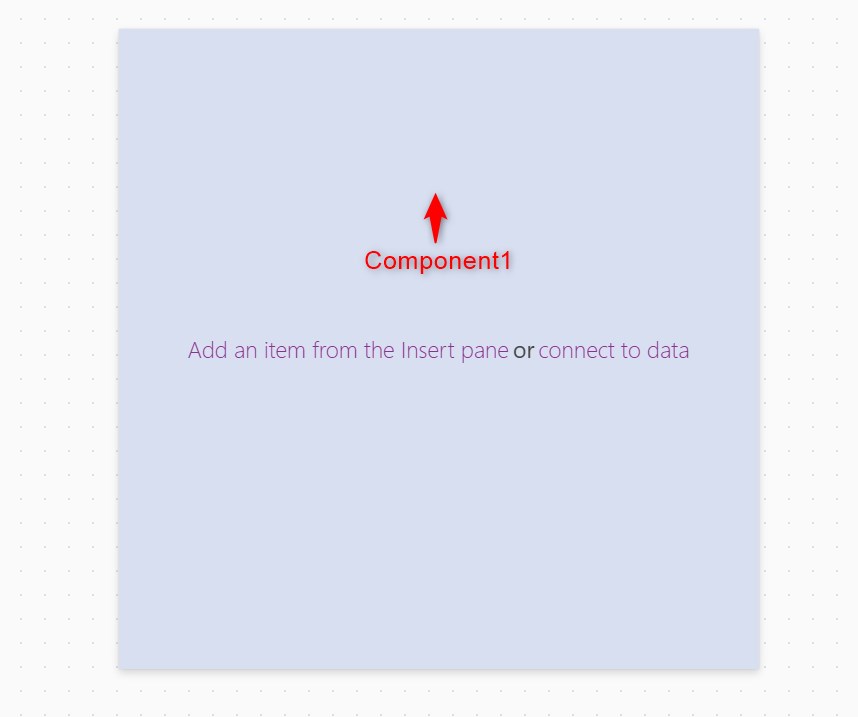
The created component will now be named Component1. Let’s change the background color so that we can distinguish later on that this is part of the component. Change the following properties:
Fill property
RGBA(215, 223, 240, 1)Step 3: Component Text Input
Step 3:
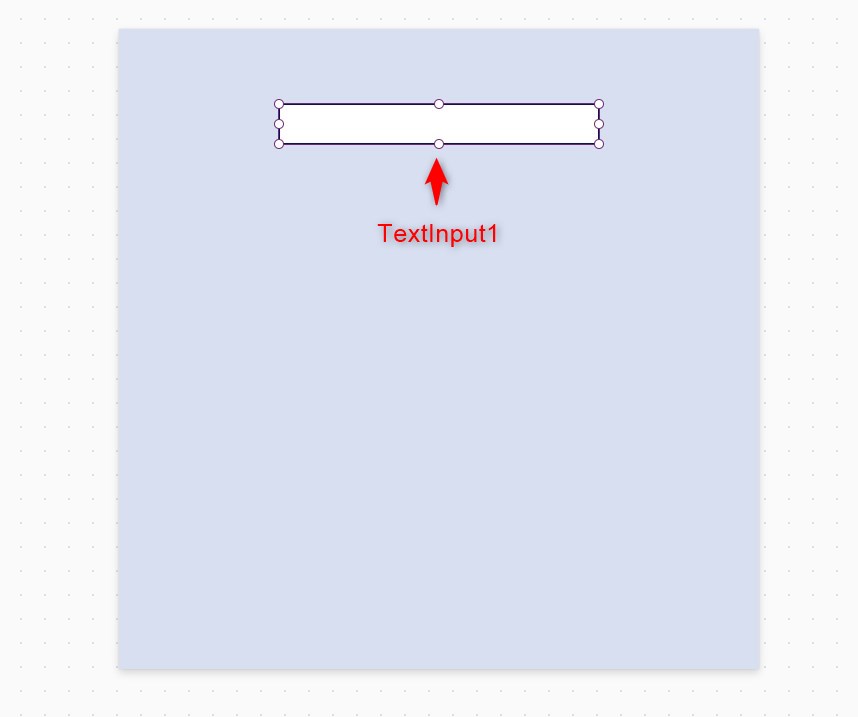
Insert a Text Input control and name it TextInput1.
Note: As of writing, modern controls do not have the Reset property. So we will use the classic text input in this demo.
Change the following properties:
Default property
""Reset property
Component1.ResetNote: The Reset property will have an error for now. This error will go away after creating the custom property called ‘Reset’ which is the next step.
Step 4: Creating a New Property
Step 4:
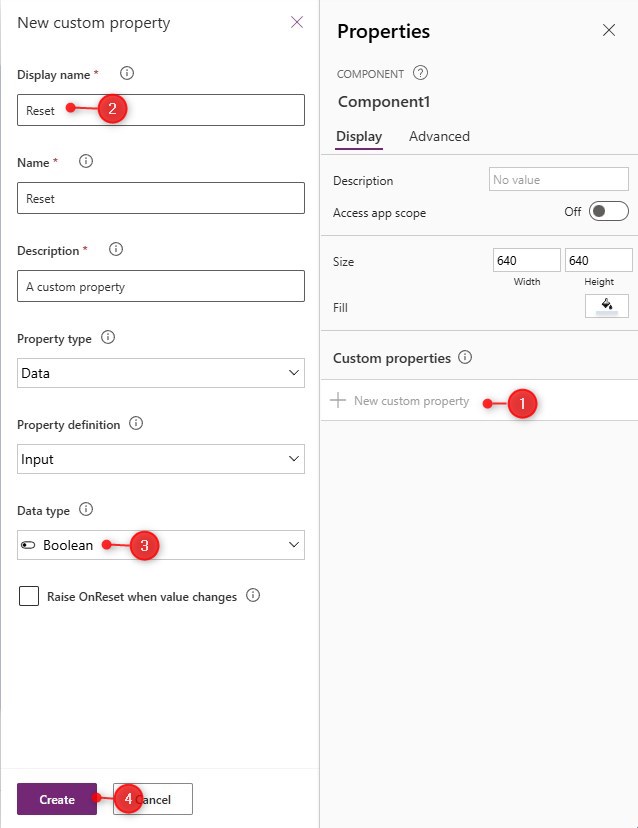
On the properties bar of Component1, do the following
- Click ‘New custom property’.
- Change the ‘Display name’ to “Reset”.
- Change the ‘Data type’ to Boolean.
- Click the ‘Create’ button.
By doing this, you will have a new property named “Reset” to be used later.
Step 5: Tree View – Screens
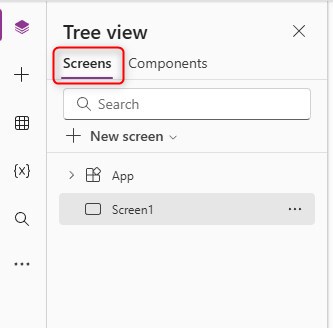
Step 5:
Go back to the ‘Screens’ tab.
Step 6: Inserting the component
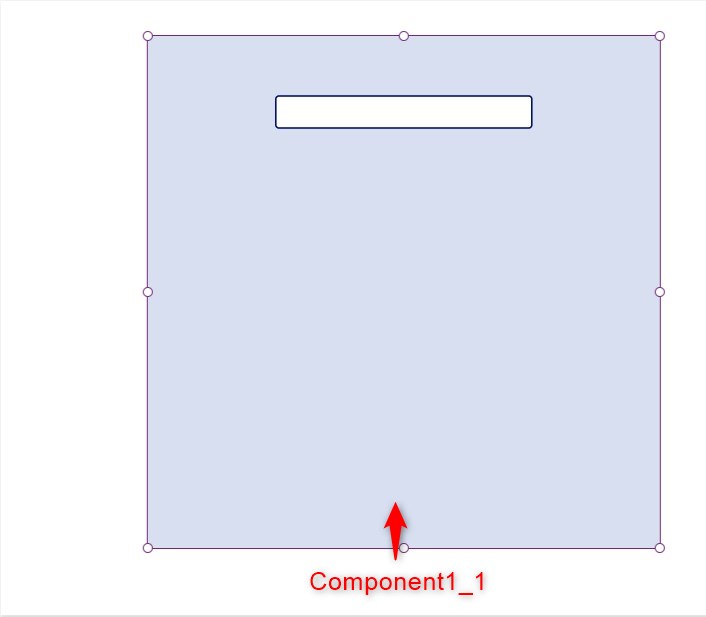
Step 6:
On the middle of the screen, insert the component (Component1). Your component will be automatically named Component1_1. Change the following properties:
Reset property
varResetNote: The formula will have an error for now. This will disappear after you have done the next step.
Step 7: Inserting the Button
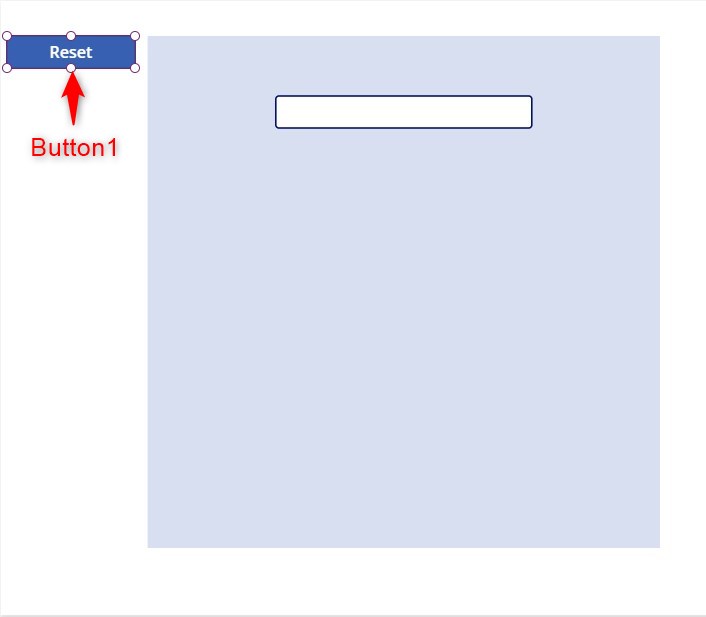
Step 7:
Insert a button and name it Button1. Change the following properties:
Text property
"Reset"OnSelect property
UpdateContext({varReset:false});
UpdateContext({varReset:true});
Conclusion
To test if the resetting works, play the app and then type in anything in the text box, the click the ‘Reset’ button. You will notice the text box has returned to its default state of being blank.
Did this article help? Let us know how we can improve. Send us a message by clicking the “Contact Us” button below.
Article last updated on June 4, 2025
Need expert guidance on Power Apps?


