Power Apps – Send An Email
3 steps
Introduction:
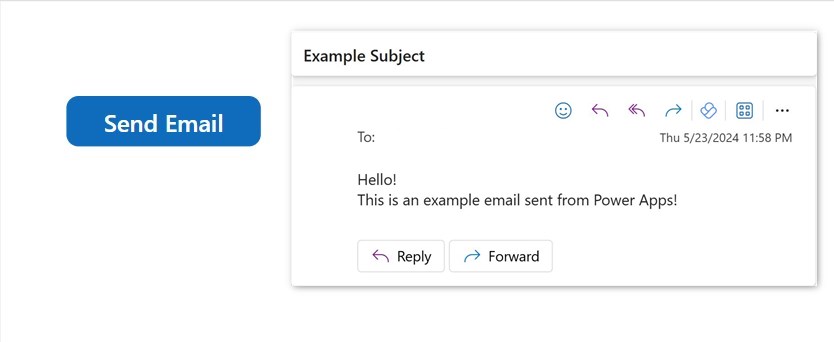
Follow these simple steps and you will be able to send an email to your address by a click of a button.
Step 1:
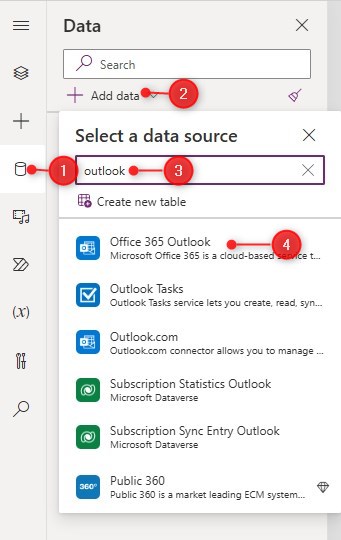
From the Power Apps studio, do the following:
- Click the ‘Data’ tab on the left pane
- Click on ‘Add data’
- Type “outlook” on the search bar
- Select ‘Office 365 Outlook’ from the list.
Step 2:
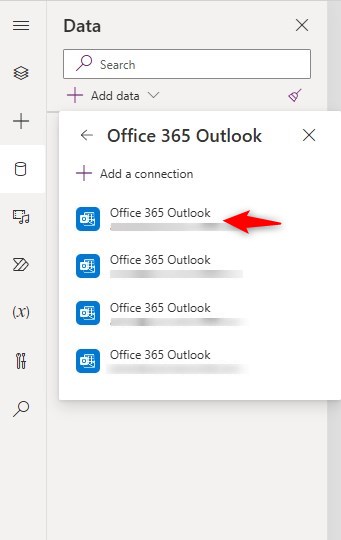
For first time set up, click the ‘Add a connection’ button and create a connection to Outlook. Once the connection is created, select the connection from the list. In the image displayed, it has four connections, pick the one with your email address on it.
Checking:
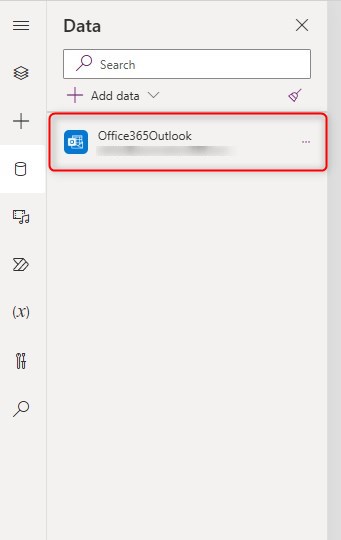
Once the connection is selected, the connector should appear in the ‘Data’ list.
Step 3:
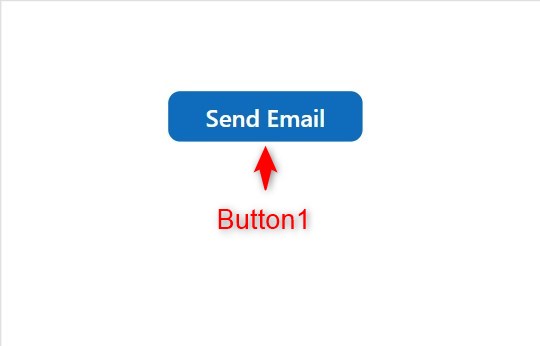
In the canvas, insert a button named Button1. Change the following properties:
Text property
"Send Email"OnSelect property
Office365Outlook.SendEmailV2(
    "someone@sample.com",
    "Example Subject",
    "Hello!<br>This is an example email sent from Power Apps!"
    )
Note: Replace someone@sample.com with your email address

Conclusion:
To test, click on play mode and click the button on the canvas. An email should be sent to your email address shortly. Make sure you have replaced the sample email address with your very own.
Did this article help? Let us know how we can improve. Send us a message by clicking the “Contact Us” button below.
Article last updated on May 24, 2024
Need expert guidance on Power Apps?