Power Apps – Separate button for camera control
5 steps

Introduction:
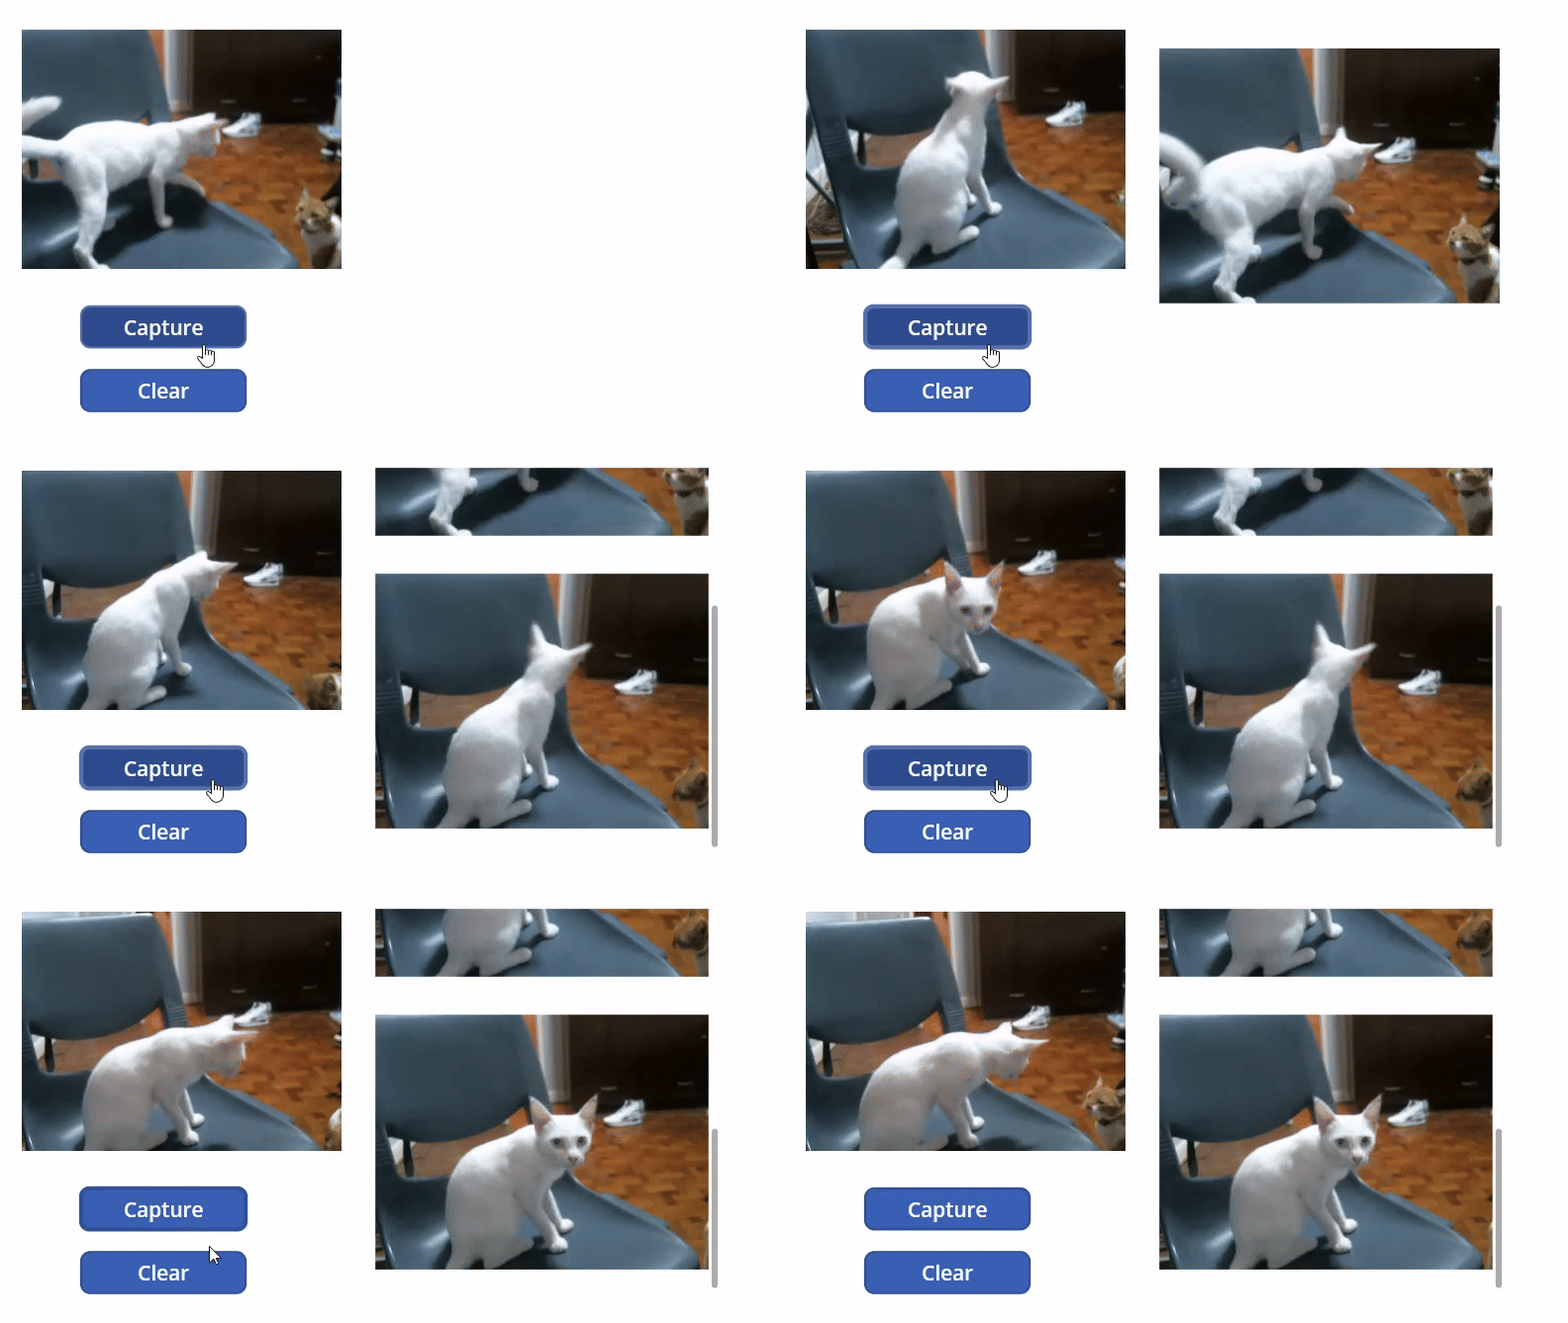
By default you can capture a photo from a camera control by only clicking the camera itself. Here we explore how to capture a photo by pressing a separate button.

Step 1:
Insert a camera control named Camera1. Change the following properties:
Onstream property
trueStreamRate property
100
Step 2:
Insert a button named Button1. Change the following properties:
Text property
"Capture"OnSelect property
Collect(colImages,{Image:Camera1.Stream})
Step 3:
Insert a button named Button2. Change the following properties:
Text property
"Clear"OnSelect property
Clear(colImages)
Step 4:
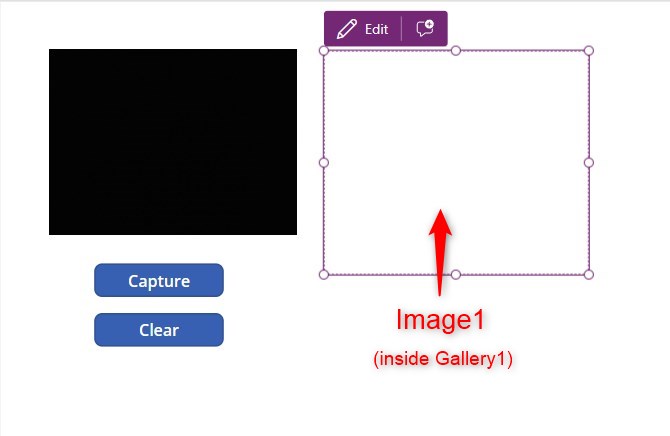
Insert a blank vertical gallery named Gallery1. Change the following properties:
Items property
colImagesDefault property
Last(colImages)
Step 5:
Insert an image control named Image1. Change the following properties:
Image property
ThisItem.Image
Conclusion:
Test out the camera. Point the camera to an object and click the Capture button (Button1). You will see the updated picture saved in the gallery. Press the Clear button (Button2) to remove all saved pictures in the gallery.
Did this article help? Let us know how we can improve. Send us a message by clicking the “Contact Us” button below.
Article last updated on Mar 29, 2024
Need expert guidance on Power Apps?