Power Apps – Square Gallery of Buttons (Single Choice)
4 steps

Introduction:
This is the blueprint on how to create a square-shaped gallery of buttons. In this example we will create 4 buttons. You may apply 6, 8, 10, or more buttons using a bigger gallery.

Step 1:
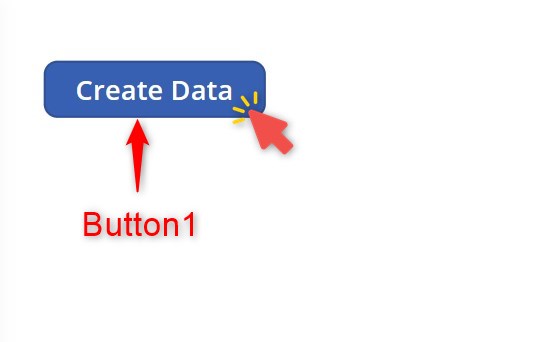
Insert a button named Button1. Change the following properties:
Text property
"Create Data"OnSelect property
ClearCollect(collItems,
Table({Item:"Car",IsSelected:false},
{Item:"Train",IsSelected:false},
{Item:"Airplane",IsSelected:false},
{Item:"Ship",IsSelected:false})
);
Step 2:
In play mode, click the button so that our collection will be created.
Step 3:
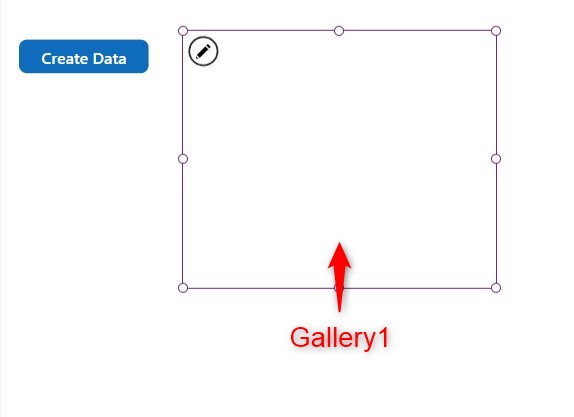
Insert a blank vertical gallery named Gallery1. Adjust the size to make it roughly into a square shape. Change the following properties:
Items property
collItemsWrapCount property
2TemplateSize property
(Self.Height/2) -15
Step 4:
Insert a button named Button2 inside Gallery1. Change the following properties:
X property
0Y property
0Height property
Parent.TemplateHeightWidth property
Parent.TemplateWidthFill property
If(ThisItem.IsSelected,RGBA(39, 113, 194, 1), Color.White)Color property
If(ThisItem.IsSelected, Color.White,RGBA(39, 113, 194, 1))BorderRadius (RadiusBottomLeft, RadiusBottomRight, RadiusTopLeft, RadiusTopRight) property
0Text property
ThisItem.ItemOnSelect property
UpdateContext({varSelectedItem:ThisItem});
If(varSelectedItem.Item <> ThisItem.Item,
Patch(collItems,LookUp(collItems,IsSelected=true),{IsSelected:false});
Patch(collItems,varSelectedItem,{IsSelected:true})
);
Conclusion:
To test, activate play mode and click on the buttons. As you can see the button will remain colored when selected while the others remain white. You may apply this in certain cases where you want the user to pick one value and have a variety of controls instead of the usual dropdown.
Did this article help? Let us know how we can improve. Send us a message by clicking the “Contact Us” button below.
Article last updated on May 28, 2024
Need expert guidance on Power Apps?


