Power Apps – How to set up a nested gallery (no inputs)
5 steps
Introduction:
This blueprint demonstrates the basics of setting up nested galleries, or galleries that have a gallery inside of it. We will build a simple nested gallery set-up with labels only (no inputs). We will use an example data with 3 meals and in each meal have different foods. The gallery will automatically adjust its size based on how many food in each meal.

Step 1:
Let’s set up our sample data. In the Formulas property of App, add this code:
varTable = Table(
    {Meal: "Breakfast",Foods: ["Egg","Hotdogs","Bread"]},
    {Meal: "Lunch",Foods: ["Spaghetti","Carbonara","Hamburger","Garlic Bread","Pizza"]},
    {Meal: "Dinner",Foods: ["Pork","Rice"]}
    );
Step 2:
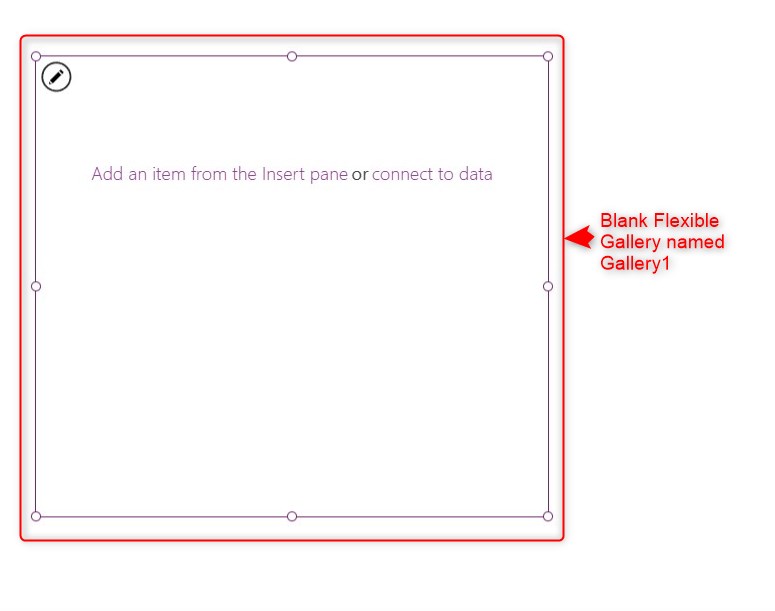
Insert a blank flexible height gallery named Gallery1. Make the Items property into:
varTable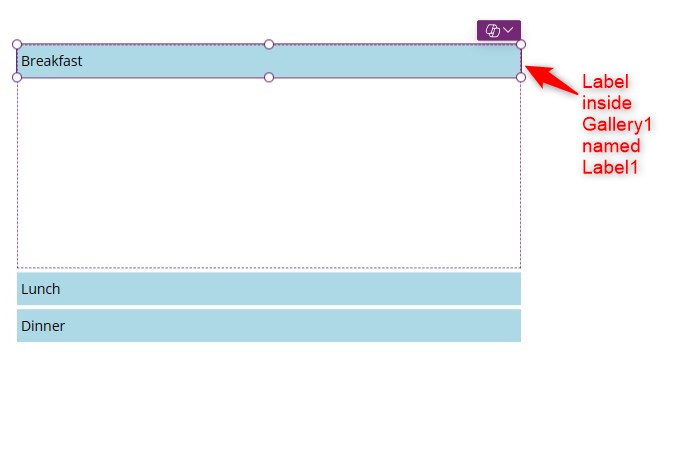
Step 3:
Insert a text label named Label1 inside Gallery1. Make the following changes to its properties:
Text property
ThisItem.MealFill property
Color.LightBlue
Step 4:
Insert a blank vertical gallery named Gallery2 inside Gallery1. To insert something inside a gallery, make sure to click the top-most row of the gallery, and then insert your desired control (in this case insert a blank vertical gallery). Make the following changes to its properties:
TemplateSize property
50Height property
Self.AllItemsCount * (Self.TemplateHeight * 1.2)Items property
ThisItem.FoodsY property
Label1.Height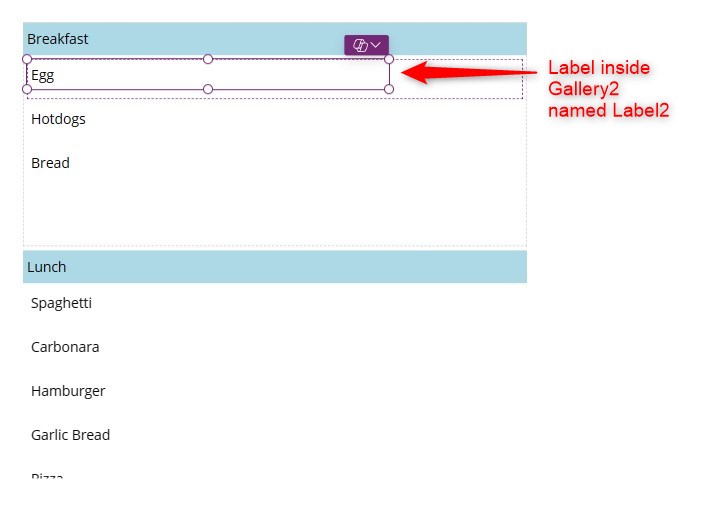

Review:
Make sure that your Tree View looks something like this.
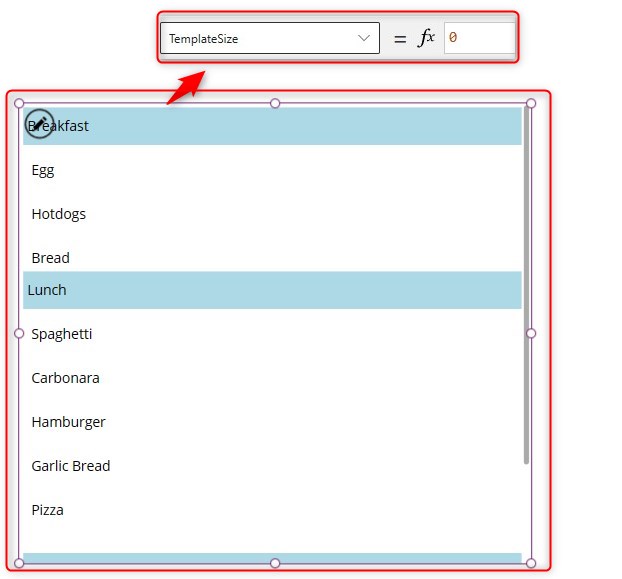
Optional:
You may set Gallery1‘s TemplateSize property into 0 to make sure there are no gaps for small rows. It may look distorted in the studio, but onced played, it will adjust correctly.
Conclusion:
You now have a basic nested gallery that houses 3 meal types and the sizes adjust automatically based on the number of foods in each meal.
To learn how to patch inputs controls from nested gallery with inputs, you can click here.
Did this article help? Let us know how we can improve. Send us a message by clicking the “Contact Us” button below.
Last Updated: October 30, 2024
Need expert guidance on Power Apps?